Monday, February 13, 2012

Baby on the Brain.. And the Bladder

Well, I know I promised to share some table decorating ideas today, but I found out yesterday that everything was in some of the most inconvenient spots in our storage shed. (We recently moved back to my in-laws for a while.) I was quite sad, but maybe on a day when we have some extra time, I can dig everything out and share some fun stuff with you all.

Now switching gears, I hit the 32 week mark today! WOOHOO!! Hopefully that means we'll be meeting our 2nd little boy in around 8 weeks. (He may have other plans, but I'm hoping not!) Can you tell I'm getting excited? The reality that there's a little less than 2 months left until my due date has me thinking about all the projects I want to get done before he gets here. So here's a collection of some of my favorite tutorials and goodies for moms and babies. I've included a tutorial and place to buy for most of these, so whether you're crafty or not, you can still get in on the fun!


Reusable Nursing Pads

Great tutorial to make your own from DIY Maternity. I might try making these with layers of bamboo velour (yummy!), hemp fleece, and some PUL for extra protection.
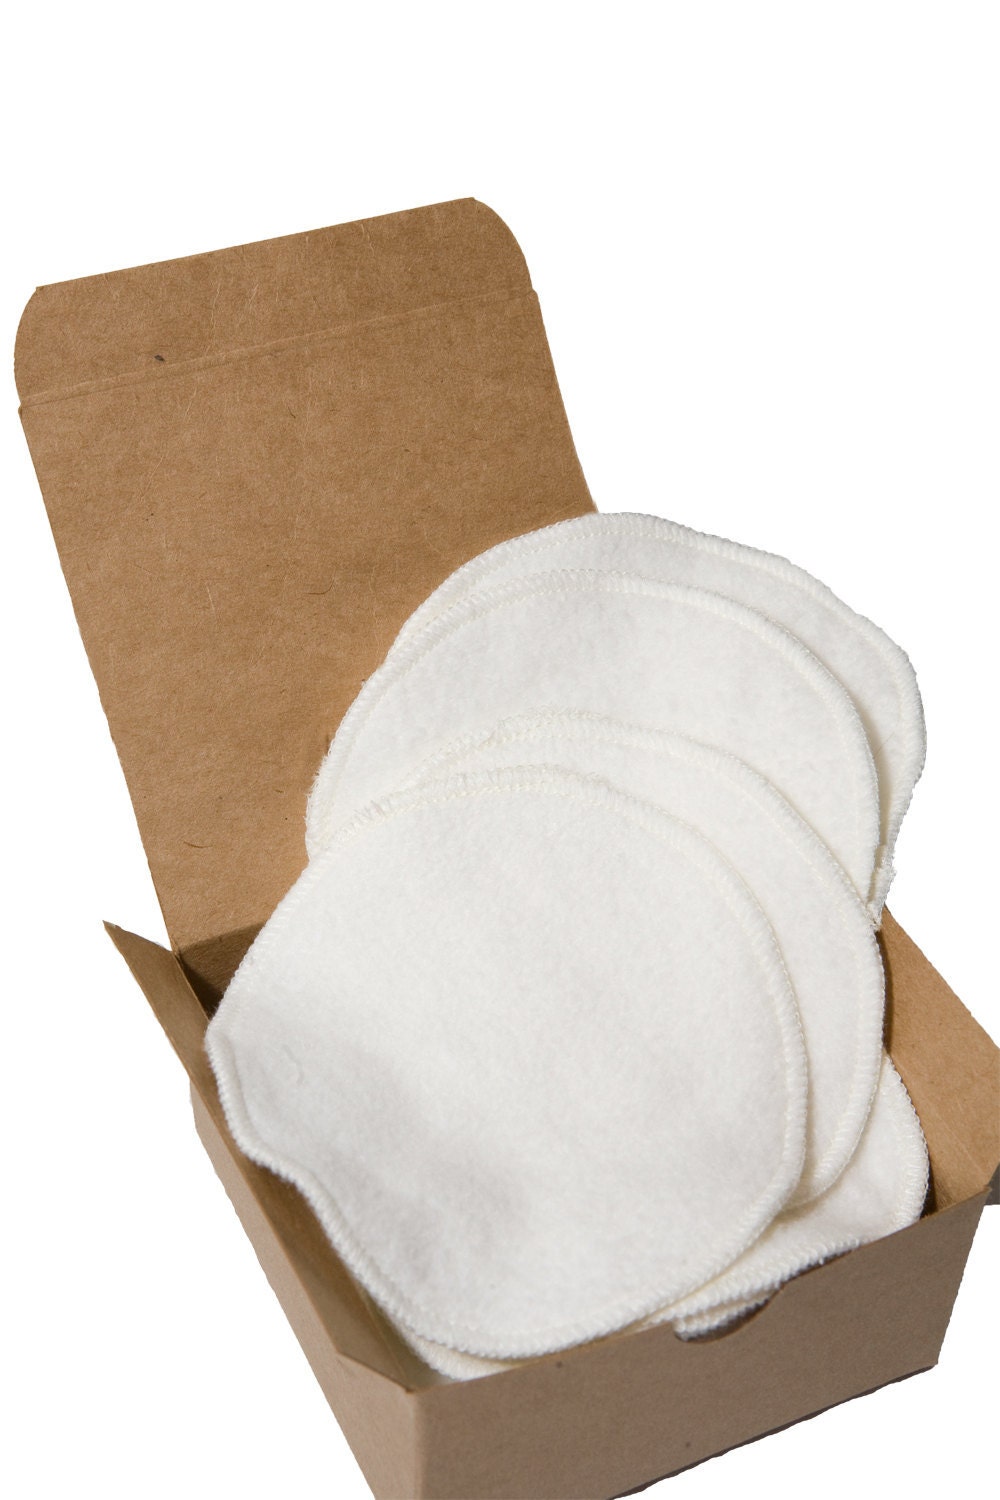

Or you can buy these luxurious looking bamboo fleece "Hooter Soothers" from Sweet Bobbins on Etsy. There's also several other types available for sale, these just seem extra special. :)


Nursing Covers a.k.a. Hooter Hiders (teehee!)


I'd love to have one of these instead of a receiving blanket. Blankets always seem to get ripped off at the worst time possible, but these have a strap that keeps them in place. Awesome! Sew Much Ado has an awesome tutorial for these covers, and I'll definitely have to make myself at least one. I LOVE the fabric she used too! Don't you?
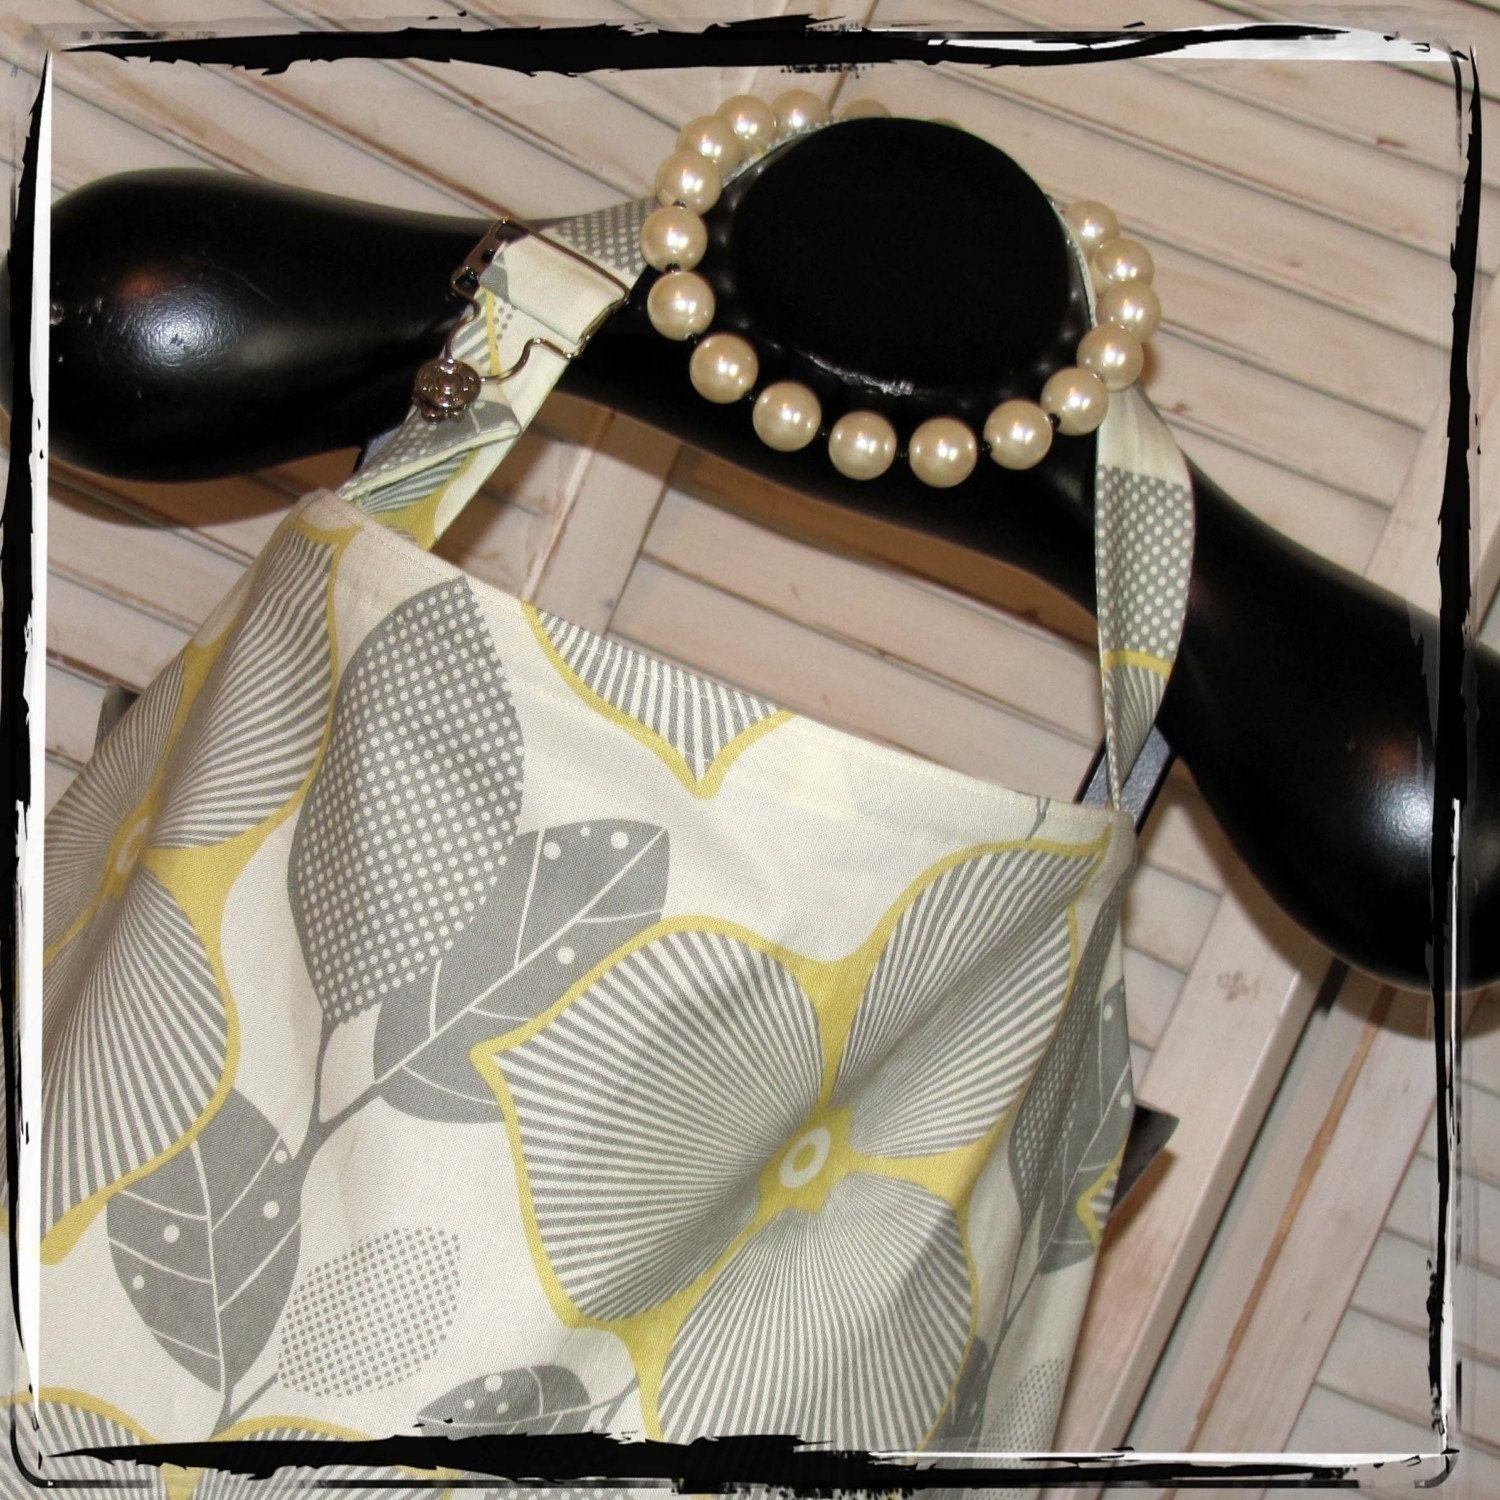


I love this one from Lilacs & Lollipops too. Amy Butler fabrics are some of my faves, and she also offers several matching baby items.


Diaper Bags


This is actually a messenger bag tutorial from Mommy By Day, Crafter By Night, but I think it'd make a super cute diaper bag too. I didn't see directions for any pockets other than under the front flap, but adding a few to the inside would help to keep it organized. I've never been a fan of the elastic pockets, but I don't think they'd be hard to add either if you'd prefer them.
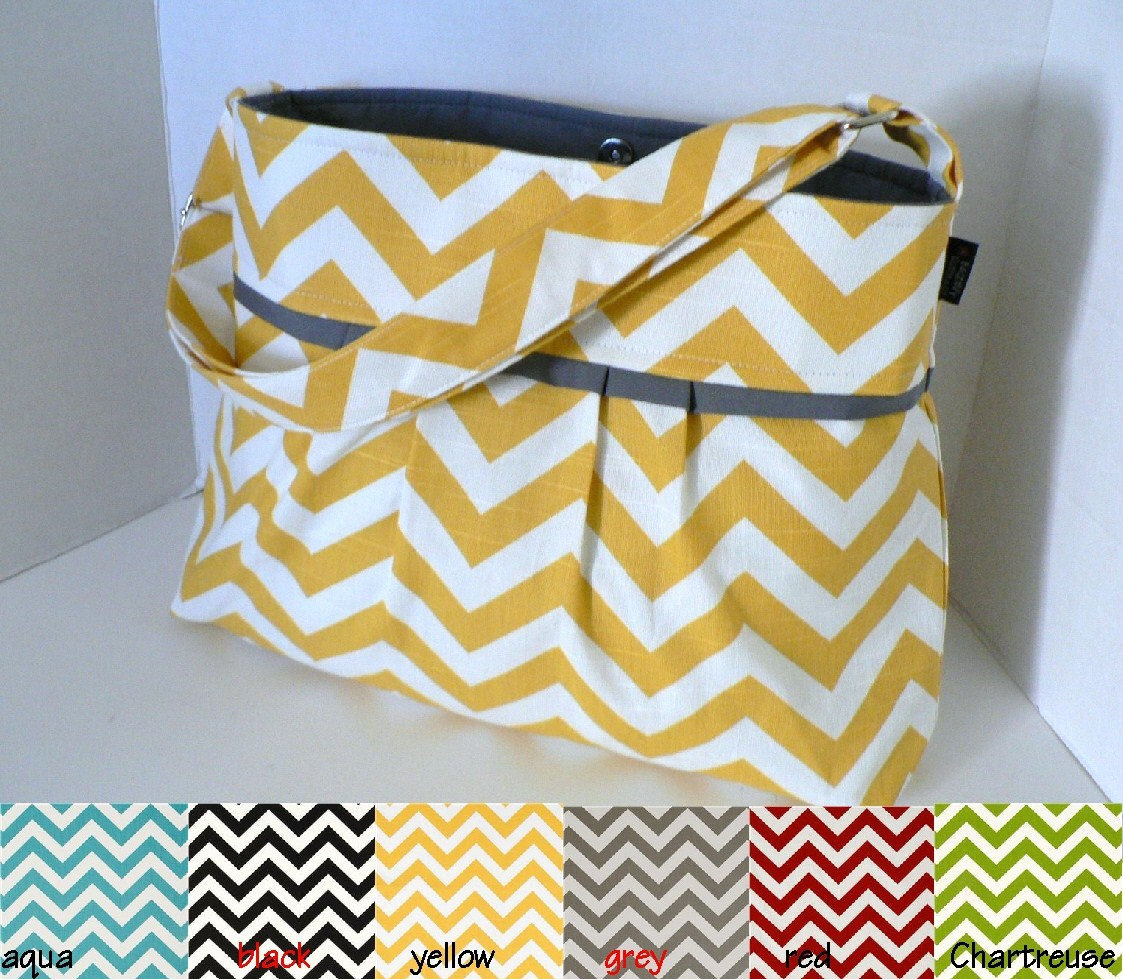

Bag Envy offers this bag in a variety of colors and patterns. This particular listing allows you to choose what color chevron you'd like. I'm in love with the blue and the green! ;)


Baby Blankets

I already made a crib blanket and several receiving blankets, but here are some of the other blankets I'd like to make, and blankets I'm just plain in love with. :)


Faux chenille blankets are something I just recently discovered. They definitely seem to take some time to make, but what fun! The "chenille" side looks so soft and fluffy, and the thickness of the blanket helps make it super versitale. Dana at MADE shared this tutorial, and it's one I'm hoping to try for both boys sometime in the near future.
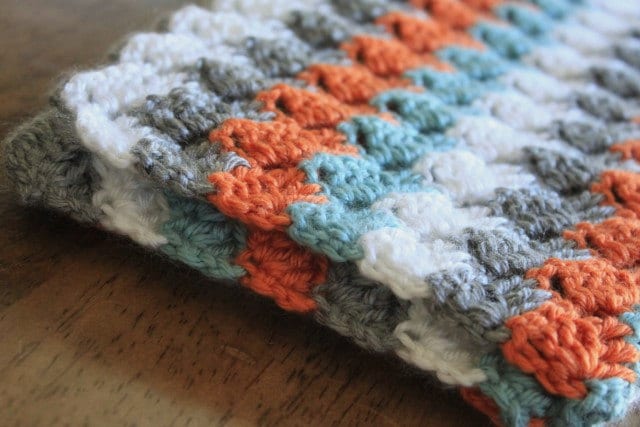

I wish I knew how to crochet.. I'm in love with this blanket from Ribbons Undone.


Chevron seems to be all the rage these days. Here's another version of the chenille quilt from Aesthetic Nest with the chevron design on the chenille side as well. Anneliese, you rock!


Who loves minky? I do! I also love the Alexander Henry Zoo fabrics. This great tute is from Mama Stellato. I love the idea of using newspaper as the cutting guide. I'll definitely have to try that!


I have yet to try machine quilting, but it's something I want to learn. Making this super cute blanket might just push me to finally try it. Diary of a Quilter shared this tutorial at Moda Bakeshop. I love the Lily and Will collection by Moda too. :)


Baby Hats and Photo Props
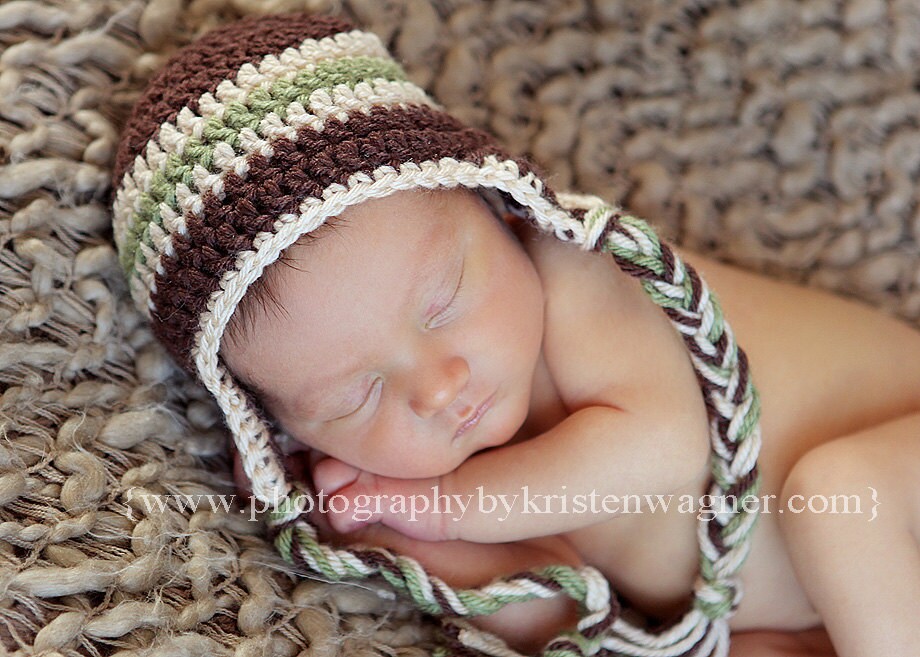

Once again wish I could crochet well enough to make something this cute! Snazziebeans also offers other super cute hats and photo props.
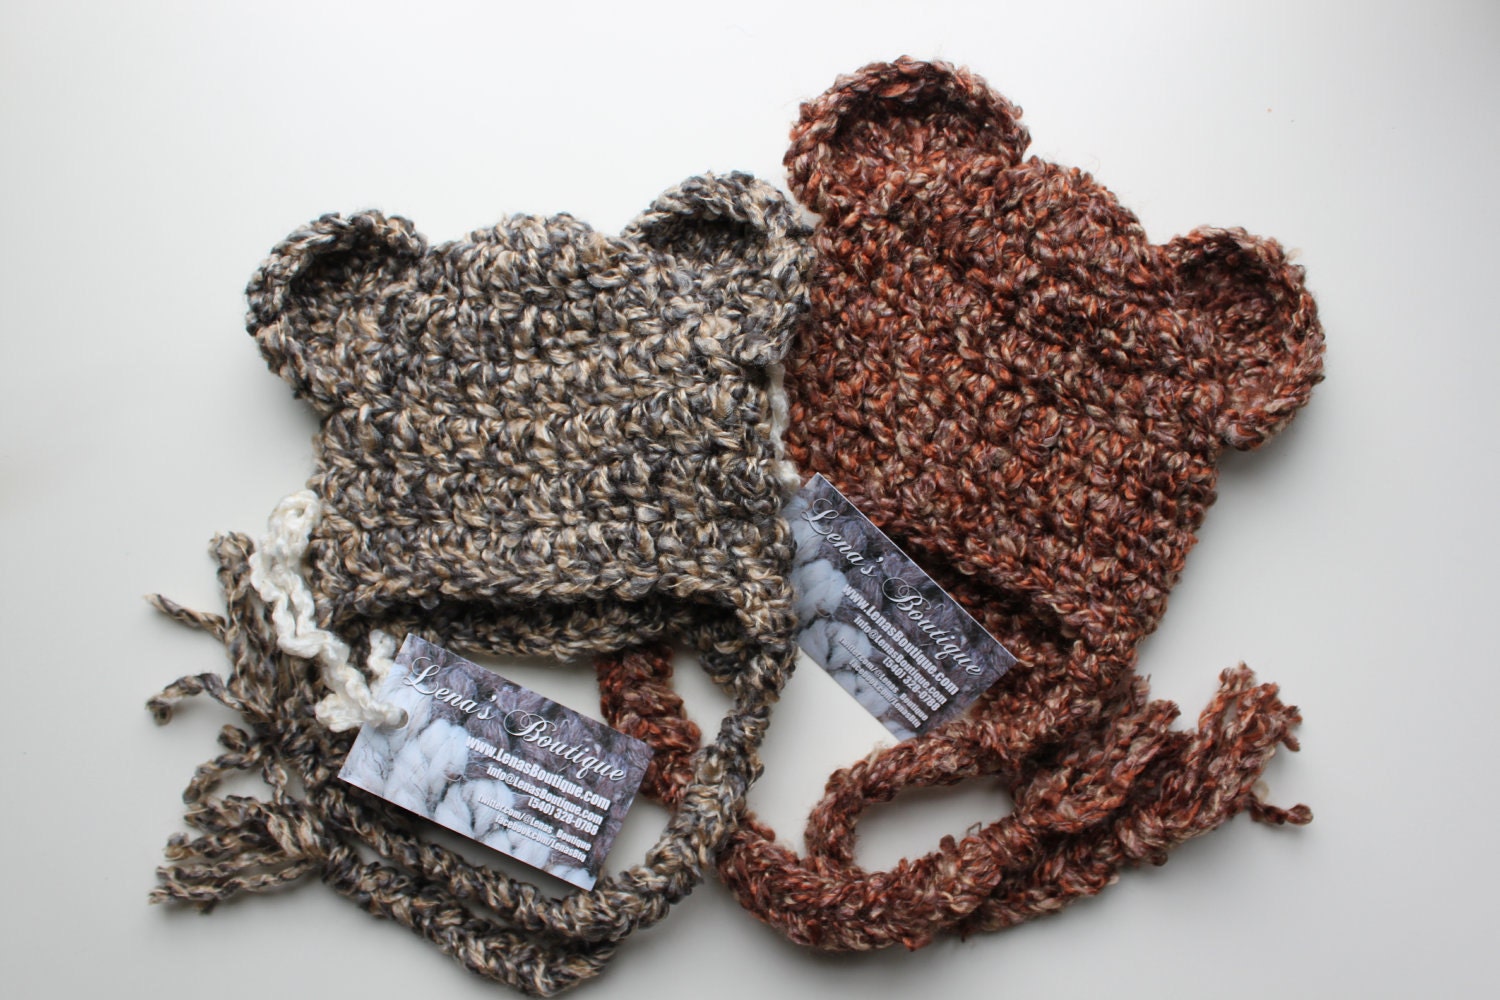

Love love love these bear ear hats from Lena's Boutique.


How adorable is this picture? I love the owl hat with the nest. Birds of a Feather Photo Props has a few different kinds of these and other great photo props. Wouldn't these make the sweetest newborn pictures? I don't know what I'd do with the nest afterward, so I'm not sure if I'll buy one for myself or not, but I might just have to give in cause it's so darn cute!

I can't wait to get started on some of these projects. What are some of your favorite things to make buy when a new babe is comin' around? I'd love to see what other ideas you have too. :)

Photobucket

Friday, February 10, 2012

Food Friday: Crock Pot Teriyaki Chicken

I think one of the most frustrating parts about being sick is not knowing what to make for dinner, and not having energy to make it anyway. This week I didn't want to eat junk food like I normally would when I'm sick. I thought I'd picked some easy stuff to do at the beginning of the week, but over did it and ended up in bed more than I would have liked. Sound familiar?

Cue the crockpot. I LOVE cooking in the crockpot. It usually only requires a short time in the kitchen prepping, and then at the end of the day you have a delicious meal. When I saw this recipe for teriyaki chicken, I knew it would be a winner. It took me maybe 5 minutes to get the sauce mixed up and the crockpot going. The chicken came out tender and just like you'd expect of a teriyaki chicken from a restaurant. My sauce didn't turn out quite like I think it was supposed to, but everyone else seemed to love it. Great recipe for sick days, busy days, or even lazy days. Definitely a must try!


This is how Penny's turned out. YUM, right??
(It was gone before I could get good pictures here.)


Crock Pot Teriyaki Chicken
12 boneless, skinless chicken thighs (about 3 pounds)
3/4 cup sugar
3/4 cup soy sauce
6 tablespoons apple cider vinegar
3/4 teaspoon ground ginger
3/4 teaspoon minced garlic
1/4 teaspoon pepper
4 1/2 teaspoons cornstarch
4 1/2 teaspoons cold water
Hot cooked long grain rice

Place chicken in a 4 quart slow cooker. In a large bowl mix together the sugar, soy sauce, vinegar, ginger, garlic, and pepper. Pour over chicken. Cover and cook on low for 4 to 5 hours, or until chicken is tender. Remove chicken to a serving platter and keep warm. Skim fat from cooking liquid. Transfer liquid to a saucepan and bring to a boil. Combine cornstarch and water until smooth. Gradually stir cornstarch mixture into cooking liquid and continue stirring until sauce has thickened. Serve with chicken and rice. 

Photobucket

Wednesday, February 8, 2012

Valentine's Day Fun :)

I can't believe Valentine's Day is already less than a week away! Last year we had a yummy homemade dinner that my husband and I both helped make. While I was busy in the kitchen, he snuck downstairs at my in-laws and set up a beautiful table with rose petals, candles, etc. I was completely blown away. He also ended the night by proposing at a lookout which was pretty darned awesome. Best Valentine's Day ever. Period.

I've been hoping to make this year another great year (hopeless romantic!), and I think I've done a pretty good job so far. I volunteered to do dinner this year and set everything up. I'm still trying to tweak the menu so that I'm not exhausted from cooking by the time dinner's over, but I'll share next week along with some decorating ideas. My hubby also has no idea what I'm making, and I'm hoping to keep it that way so he's super surprised when we have our date-in.

Here's some more things that I've been doing, or plan to do!


This WONDERFUL idea came from Mommy by Day Crafter by Night. My husband has LOVED getting these little valentine's on his pillow each night. I'm always terrified he'll catch me putting it out, but he hasn't so far. I know it's a little late to do the full 14 days, but you could pick out your favorites and just do a few days or put together a cute little gift for Valentine's Day. It's been pretty inexpensive so far too. 


I love doing art projects with my little guy's hands, and have been trying to come up with some sort of hand related valentine to give to family members. I wasn't coming up with anything cute or workable. Then I saw this, and knew it was exactly what I was looking for. Brown Paper Packages has the basic printable for the one shown here, but also has some picture ideas for how to customize it for more than one child. Absolutely LOVE this and so will any grandparent, parent, or relative for that matter. Go check it out. :)


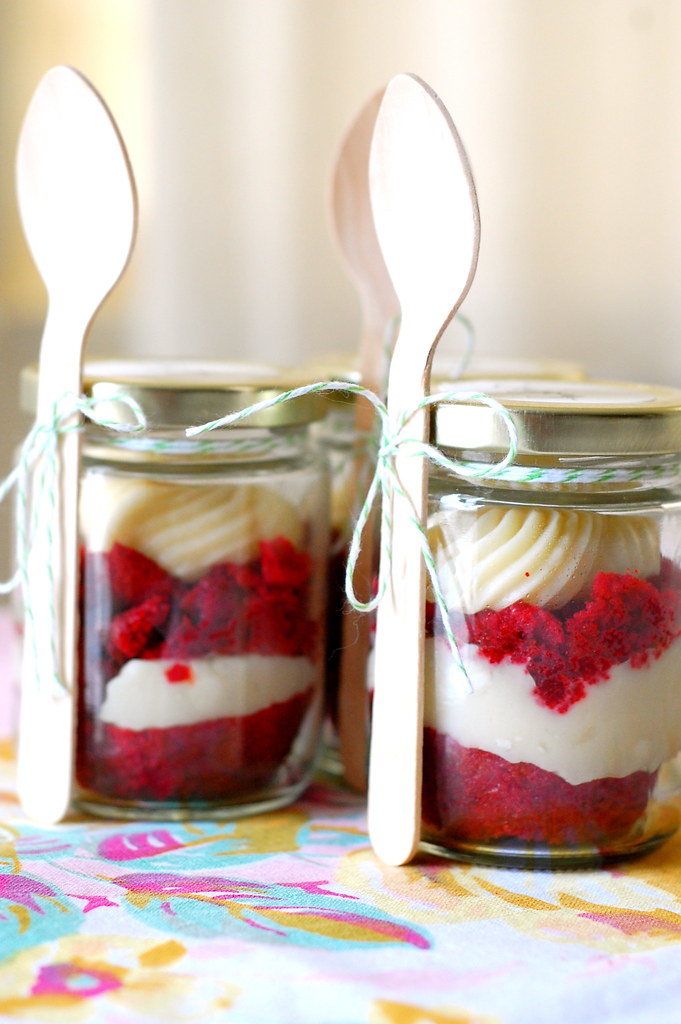
Last year I did something similar to these cupcakes in a jar by Cakies. I made red velvet and frosted them with a white chocolate cream cheese frosting. They turned out extremely cute and were delicious. I got the idea from my mom, but it's probable she got them from here because she even had the same little wooden spoons for me to use. This year I'll use the same idea, but with mugs and a different cupcake recipe.


When I saw this sign at In His Grip, I instantly fell in love with it. (The other decorations are great too!!) I probably won't make this before next week, but I really want to do a version I can display all year round.


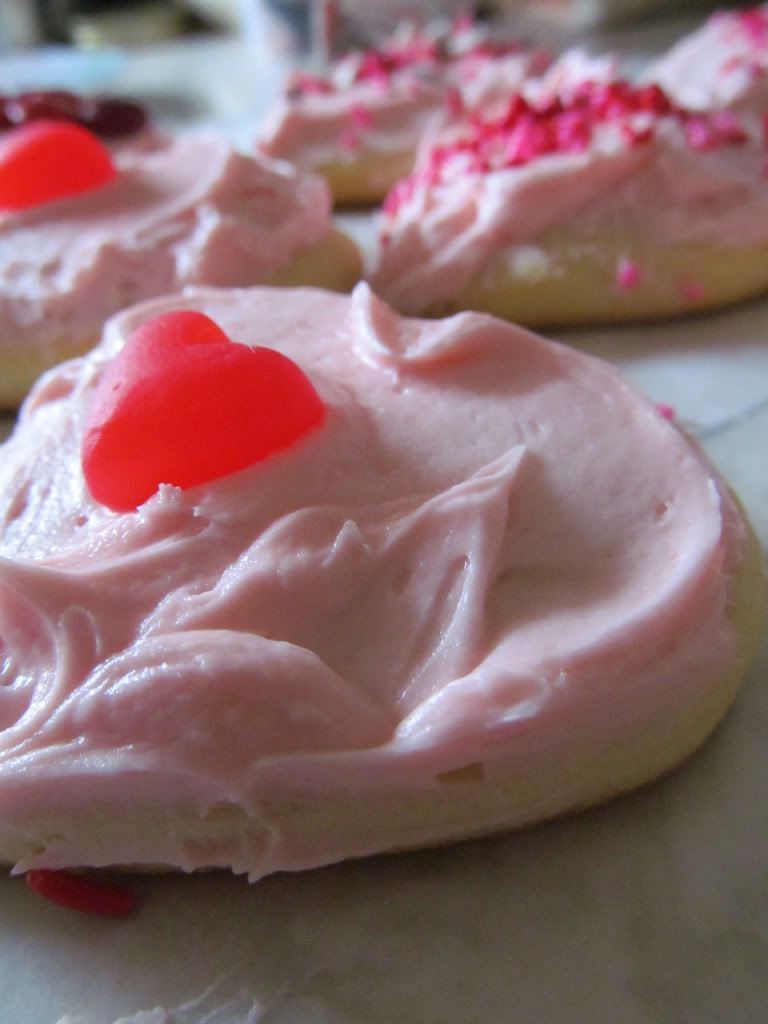
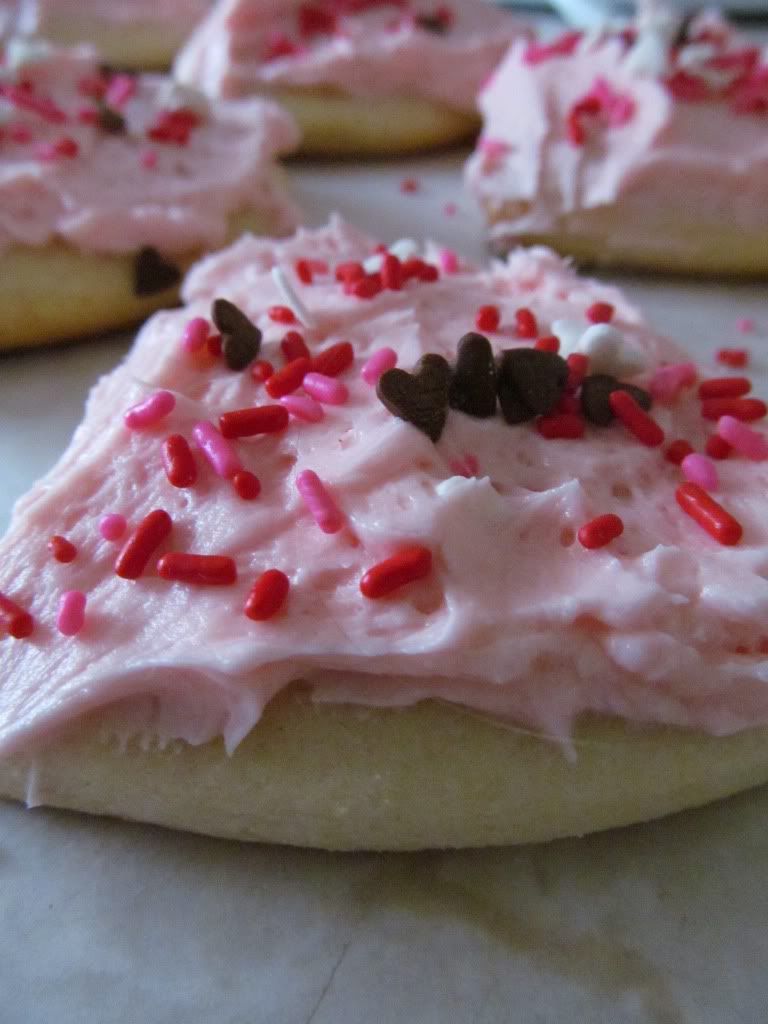
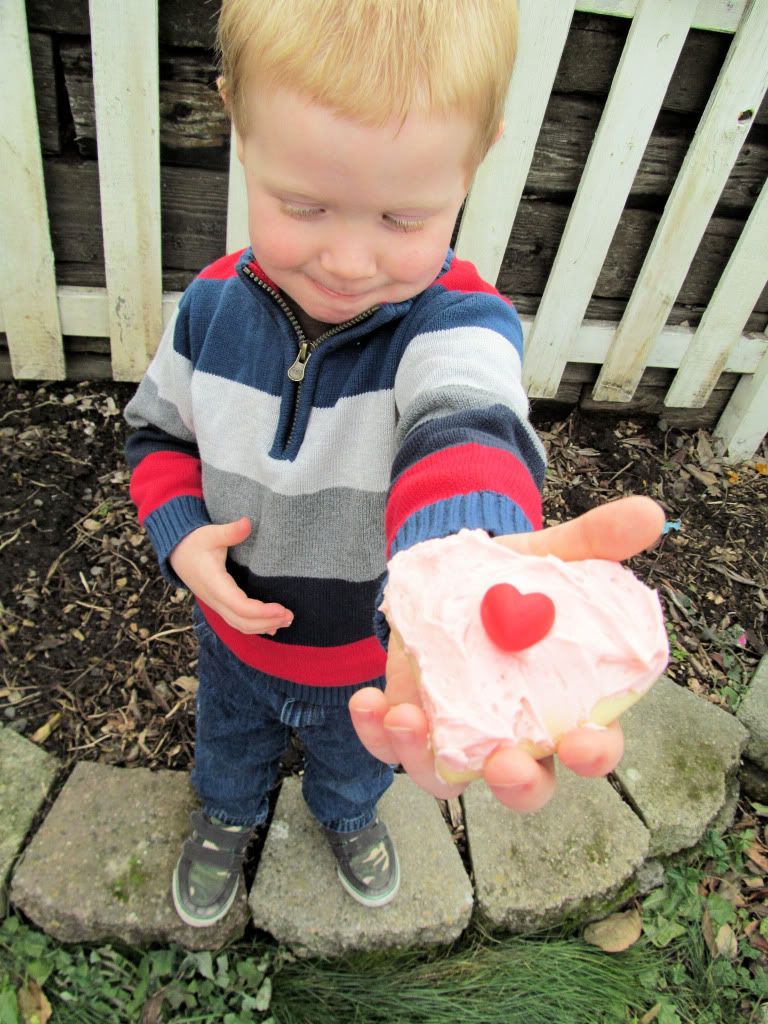
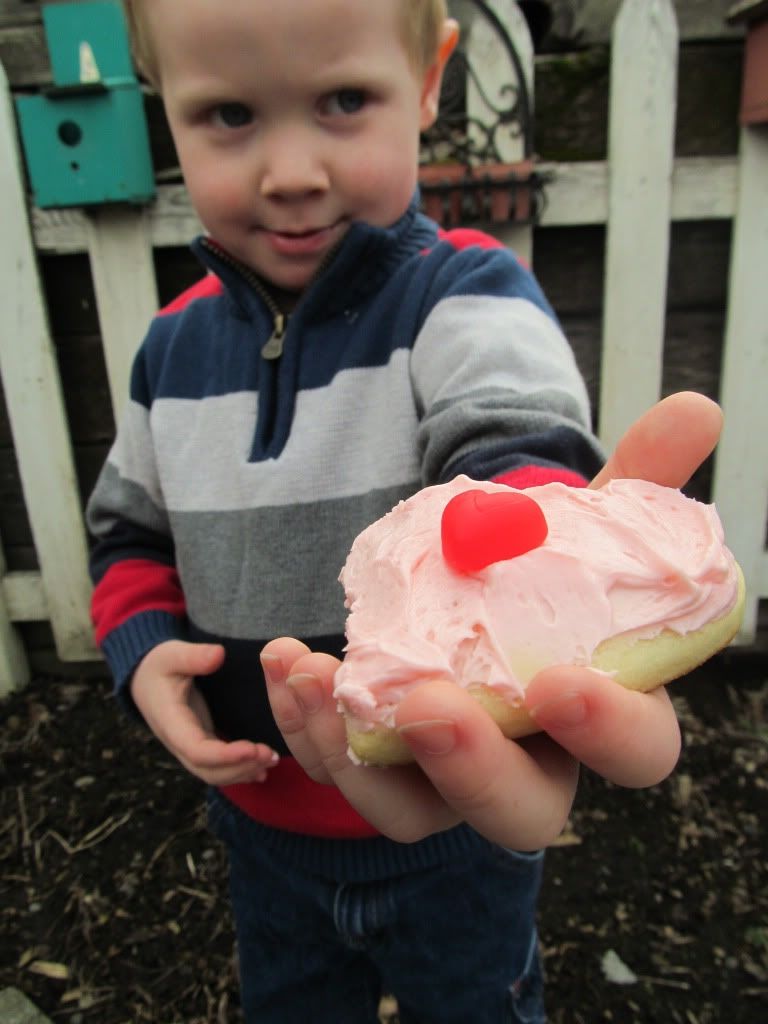
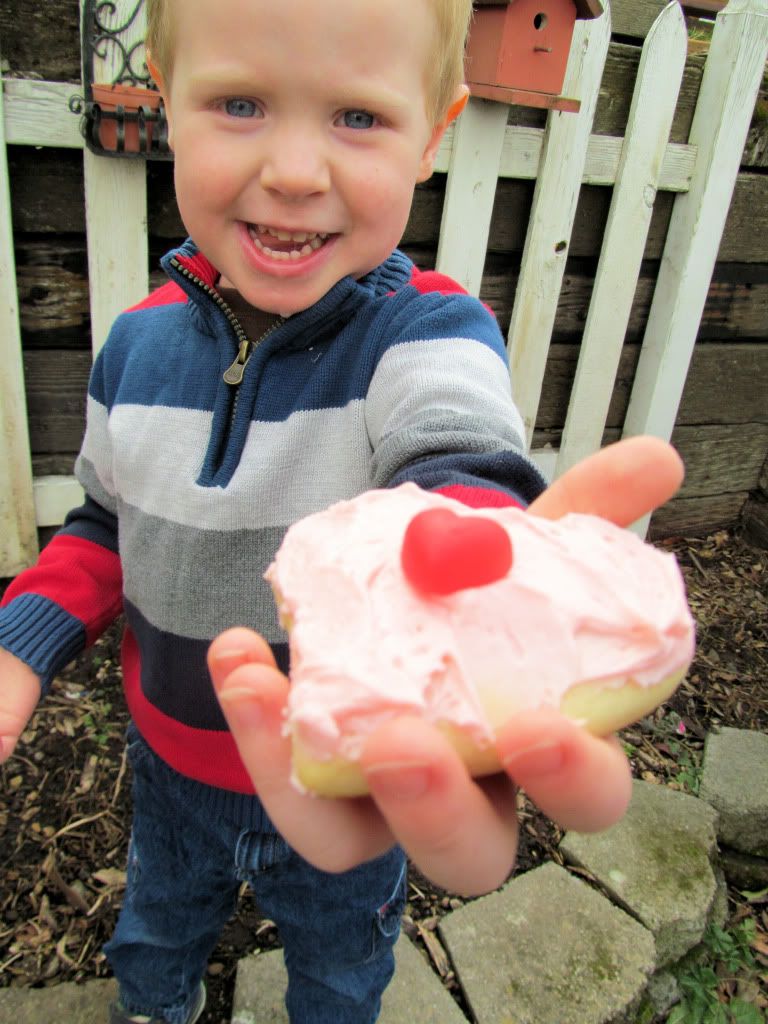
 Lofthouse sugar cookies have long been one of my greatest nemesis. There's always an inticing display of them somewhere I have to walk by while I'm grocery shopping, and I will polish off several at a time if I cave in and buy them. When I got an e-mail from Brown Eyed Baker with a knock-off recipe, I swore the devil had found my inbox! These truly are one of my greatest temptations, and I've resisted making them until now. I made them as props for Valentine's Day pictures of Xave to give to family, and haven't been able to stay out of them! So good and the pictures turned out great. Only problem will be trying to pick which one to send out. :) What have you done for Valentine's Day this year, or what are you planning to do?


Photobucket

Monday, February 6, 2012

Nutella Thumbprint Cookies

Yesterday we all woke up with an unwanted visitor. Head colds! Blech. I thought maybe I'd get out of it easy, but it seems to be sticking around. Tomorrow was also World Nutella Day. What a wonderful day! I was told Saturday was also soup day, but I was so busy I never did get around to making any soup. I had really wanted to try and make butternut squash soup, but maybe another time. 

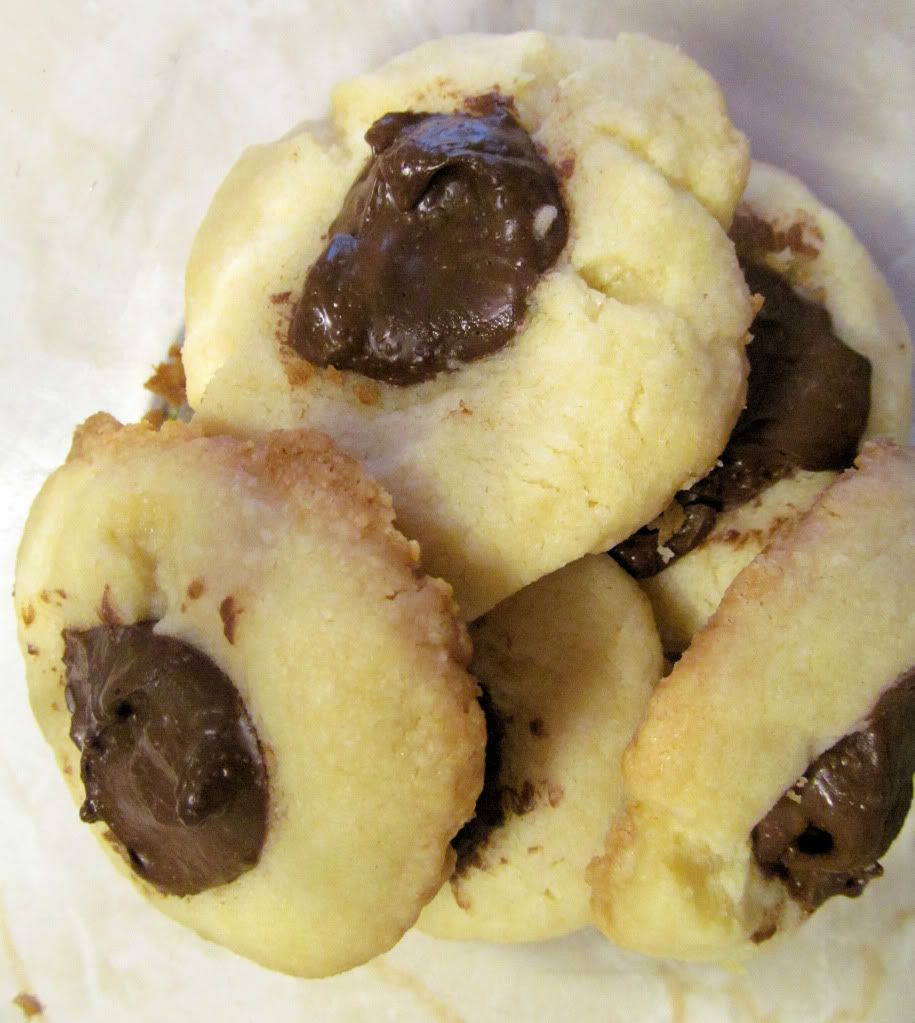
Now back to the Nutella. I'm not sure there's much better than hazelnuts and chocolate. Put it in a spread and it just makes it even better! So when I heard there was a day just in celebration of this delicious treat, I was thrilled to participate by using nutella to make something. That's right, just give me an excuse to use it. ;) I've always enjoyed jam thumbprint cookies, and thought they'd taste great with nutella instead of jam. I think my mom is still cursing me for sharing. These cookies are great just the way they are, but if you wanted a little extra chocolate flavor, you could add a little cocoa to the dough. I'm not a cooking expert, but you might need to substitute however much you use for some of the flour since the dough is already pretty crumbly. 


Nutella Thumbprint Shortbread Cookies ♥

1 cup butter, softened
2/3 cup sugar
1/2 teaspoon vanilla extract
2 cups all purpose flour
1/2-3/4 cup Nutella

In a mixing bowl, cream together the butter and sugar until thoroughly combined. Add the extract and flour. Mix until all ingredients are incorporated. The dough will be crumbly. Gently knead the dough with your hands to help it form a ball. Wrap in plastic and refrigerate for 30 minutes.

Preheat oven to 350 degrees. Line 2 cookie sheets with wax paper. Roll the dough into 1" to 1 1/2" balls and place them on the cookie sheets. Lightly make an indent with your thumb in the center of each cookie to form a well for the nutella. Using a teaspoon, fill each indent with nutella. (This can be kind of messy, but I won't tell if you lick the rest off your fingers once your done!) Bake for 15-18 minutes until lightly browned. Cookies will still be slightly soft. Transfer to a rack and allow to cool before serving. Enjoy!


I was in a hurry and made my balls a little large, so I ended up with big cookies. They were still as equally delicious, just not small and delicate looking like I'm used to. Don't they just look yummy? Go ahead and try them if you dare. You might end up with a new addiction. ;)

Linking to:


Photobucket

Friday, February 3, 2012

Food Friday: Chex Lemon Buddies

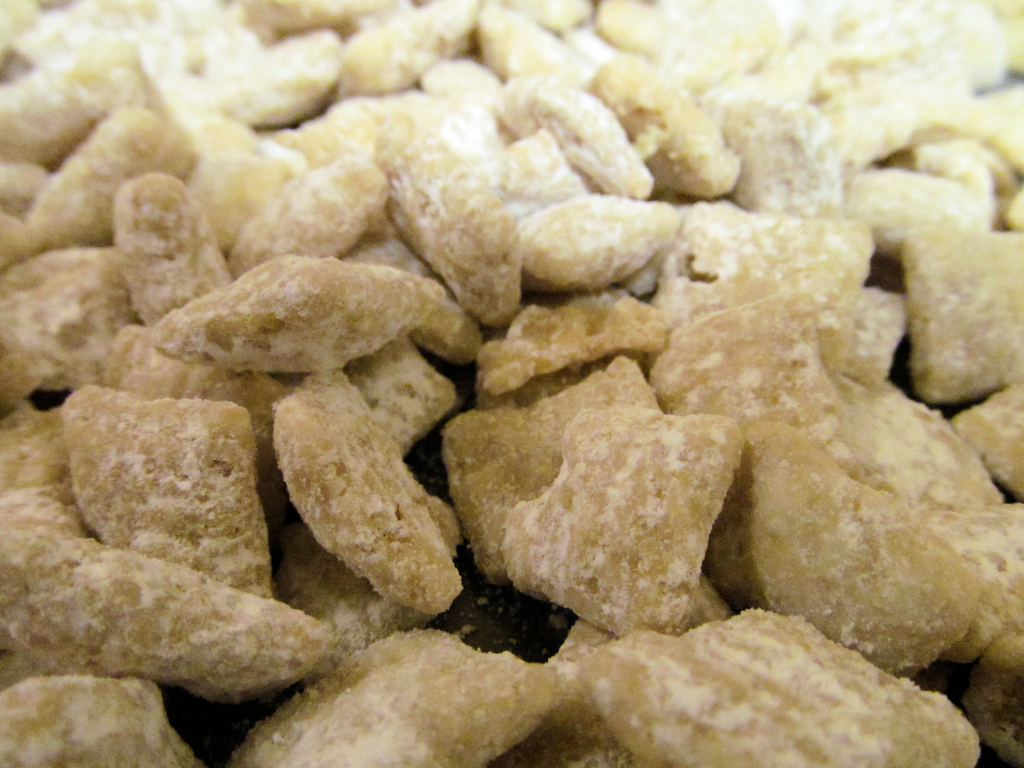
When I saw this recipe I thought it would be really fun to make with Xavier. He loves to help in the kitchen as much as he can, and I wanted something new to do with him. I've always been a fan of Muddy Buddies, and thought the variation would be worth a try. The original called for vanilla baking chips, but I used white chocolate instead, and they turned out fabulous! So try this one out with your special little person and watch them gleefully shake all the yummy goodness at the end. (Tip: Use a bag smaller than recommended so that "mommy can have a turn" and keep some of the cereal intact. Xavier's bag got a little crunched in the process, and there were lots of little pieces.) These were gone in a little over a day, so they must be good!


Chex Lemon Buddies
adapted from Chex recipes

9 cups rice chex
1 1/4 cup white chocolate chips
1/4 cup butter
Zest of 1 lemon
2 tablespoons fresh lemon juice
2 cups powdered sugar

Measure cereal into large bowl and set aside. Mix the chocolate, butter, zest, and juice in a microwave safe bowl. Microwave on uncovered on High for 1 minute. Stir and heat for an additional 30 seconds, or until mix can be stirred smooth. Poor mixture over cereal and stir to evenly coat. Measure powdered sugar into a 2 gallon plastic food-storage bag. (or 1 cup each in 1 gallon bags) Add cereal mixture, seal bag, and gently shake to coat. Spread on wax paper or foil to cool. Store in an air-tight container.


Photobucket

Wednesday, February 1, 2012

Kindle Fire Cover Tutorial

vThis week was my sister-in-laws birthday. The night before I was in a little bit of a panic because we didn't have a gift for her and I was at a complete loss for ideas. My hubby said he had thought about getting a cover for the Kindle Fire she'd just gotten for Christmas. Well, there it was. A Kindle cover. I'm assuming he meant one of those hard plastic covers that are nice to prevent damage if it gets dropped, but a cute place to store it and keep it from getting scratched is always nice too. 

I set out to find a good tutorial for what I wanted to accomplish and found two that I loved, but especially loved particular parts of each one. So I combined them together, added some of my own touches, and come up with this super awesome cover! You can find the original tutorials here and here. They're both great and offer different things. Make sure to check them out too.

What you Need:
♥ Fabric (Choose 2-3 coordinating patterns. I used a minky for my 3rd fabric because that's all I had, but I really don't recommend it)
♥ Batting (I just used what was leftover from a quilt project)
♥ Iron on velco
♥ Fabric flower, fabric button, etc. (Absolutely optional, but it adds a nice touch.)
♥ Matching thread, scissors, sewing machine, etc.

Cutting Dimensions:
Outer cover: 9.5"x13" (Fabric A)
Inside back: 9.5"x13" (Fabric B)
Main cover batting: 10"x 13.5" (Batting)

Side Pocket: 9.5"x 6.5" (Fabric B)
Side Pocket Lining: 9.5"x6.5" (Fabric B)
Pocket 1: 8.5"x6.5" (Fabric C)
Pocket 1 Lining: 8.5"x6.5" (Fabric A)
Pocket 2: 7.5"x6.5" (Fabric C)
Pocket 2 Lining: 7.5"x6.5" (Fabric A)

Strap Outer: 3"x6" (Fabric A, B, or C)
Strap Inner: 3"x6" (Fabric A, B, or C)
Strap Batting: 3.5"x6" (Batting)

Reading Holder:  5 3/4"x8 1/4", cut 2 (Fabric A)
Reading Holder corners: 2"x2", cut 4 (Fabric A)

Fabric Flower: approx 30 1 1/2" circles (Fabric A, B, or C) tutorial here


All the pieces:


The Reading Holder:


Beginning at one side of the opening, stitch around the outside until you reach the other side of the opening.


Inside Pockets:

I forgot to get pictures of the rest if this step. Basically you want to attach the pockets together and create a nice finished edge for the side pocket. All the other edges will be sewn into the main cover, so you don't need to worry about them for right now. If you don't feel confident that your layers will stay together (like with minky), baste along the left side as close to the edge as possible. 


Strap:


Isn't it absolutely adorable? I thought about adding a ruffle down the middle of the strap too, but decided against it because of the minky.


 Putting it all together:
You want to make sure the corners are not sewn down. This allows you to easily insert and remove your reader, but still holds it firmly while in use.

I had it turned the wrong way when I took this picture. (oops!) The open edge should be on the right. Don't let my silly picture taking confuse you!

For a different look you could also make 2 or 3 skinnier straps and spread them out evenly. Or maybe even some leather cording to tie around the whole thing for a more rustic look.


What a fun gift to make! The birthday girl was pretty pleased with it too, and I was a little surprised I was able to throw it together. I really love the little flower. Gives it just the right touch. Don't forget to share if you make one too. I'd love to see what personal touches you add or even just the fabric combinations you choose!

Photobucket

Linking to: