Wednesday, February 29, 2012

Happy Leap Day!

Just stopping in for a quick hello! I've had a headache all afternoon and had a doctor appointment over an hour away today, so I didn't get around to a post today. I promise next week will be chock full of fun stuff though. I hope you all had a wonderful Wednesday, and enjoyed the extra day of February. :)

Stop back by on Friday for one of my favorite March traditions, and a yummy recipe! :)

Photobucket

Tuesday, February 28, 2012

Our Weekend Getaway

On Friday morning I was attempting to sleep in, when my sweet hubby came in and flipped on the light switch over our bed. I could see he had something in his hands and thought to myself, "That had better be chocolate or something really good.." I hadn't slept well and wasn't in the best mood. He then told me we were going on a mini vacation to the coast and showed me what he had in his hand; a notebook with several different options of things to go do on our way there. My mood quickly went from grumpy to ecstatic, and we had sooo much fun! I really do love my husband dearly, and he spoils me far to much. :)


I don't know what's so calming about the ocean, but it always makes me feel so relaxed and happy to see it in person. Absolutely gorgeous! 


Xavier probably likes the beach as much as me, if not more, and he had a blast running around and playing despite it being ridiculously cold.


This was our first offical family vacation, and I don't think I could have asked for a better one. We got to go swimming, and for the first time Xave actually went in the water with us. Every other time I've tried to take him he was terrified and wouldn't go near the water. He couldn't get enough of it, and seeing my favorite two guys (soon to be 3!) laughing hysterically and having fun was probably the best part. The beach was FREEZING and the wind was about ready to topple us over. Silly me thought it would be warm enough for a light jacket. Half an hour from the beach it was snowing, and when we actually got there it tried to snow a few times and we got hailed on at least once. Luckily my hubby had been wanting a new coat and found an awesome one for 50% off. I got to borrow his other one to go over the top of mine. 

We also learned that Xavier doesn't like the smell of seafood. At lunchtime we set out to find a place that would have a good variety of options; I don't like seafood, my husband does, and Xave was set on mac & cheese. Finally we found a place that looked promising, and went inside to wait for a table. We didn't even have time to sit down before Xave started bawling and wailing, "It smells funny in here!!" The restaraunt was super packed anyway, so we headed up the street to the Pig'N'Pancake, and all happily ate there instead.

I was also to finally get some inspiration for our bedroom decor once we have our own room again! The hotel room we stayed in was decorated in white and aqua with accents of green, and a little orange. The atmosphere was so relaxing and tranquil. Everything on the bed was white, and I'm not sure how practical that would be with 2 little boys, but it gave me a good direction. Hopefully I'll be able to direct that into something amazing that I can someday share with you!

Anywho, I hope you all enjoyed your beautiful weekends as well! My mom and cousin are hosting a baby shower last this week, and I can't wait to share with you some of the fun projects that are going into that. Thanks for stopping by! :)

 
Oh! I almost forgot! Round 2 voting for the Creative Bloggers Got Talent started today. Make sure to stop by there and vote for your Top 5 Favorite projects! Click HERE to vote. Remember, all projects are anonymous, so I can't tell you which project is mine and you'll just have to decide which ones you REALLY like best. Happy voting!! :)

Photobucket

Liebster Blog Award

This weekend I received a special surprise, and was awarded the Liebster Blog Award! Kathryn at Destination: Craft was kind enough to nominate me! I enjoy linking up to her link party every Monday and seeing all the fun crafts she's done throughout the week!


Receiving this award does come with some rules and here they are:

  Thank your Liebster Blog Award presenter on your blog.
  Link back to the blogger who presented the award to you.
  Copy and paste the blog award on your blog.
  Present the Liebster Blog Award to 5 blogs of 200 followers (or less) who you feel deserve to be noticed.
  Let them know they have been chosen by leaving a comment at their blog. 

Here are the lovely ladies and the blogs I chose to receive this award!:

 Shantalle at Lifestyles of the Stay at Home Mom : She has wonderful ideas for organization and fun stuff for kiddos too!
 Jenn at My Fabuless Life : Jenn does BEAUTIFUL furniture refinishes and has great craft and gift ideas too, all with an emphasis on frugality and simplicity.
 Sabrina at Superfluous : Here you'll find yummy looking recipes and fun crafts with a little bit of inspiration and every day life thrown in.
 Bethany at Pitter and Glink : She has a bunch of amazing projects ranging from furniture makeovers, to wall decor, and so much more.
 Jenny at Northwest Lovelies : Jenny's crafts look super fun, and I'm going to have to try some of them soon. She also has a lot of cute girl-themed projects. (Wish I had a girl so I could enjoy those too!!)


I encourage you to check out these blogs and browse around! They've got some pretty inspirational projects and just fun stuff! Don't forget to leave some comment love while you're there. :) Thanks again Kathryn!


Photobucket

Friday, February 24, 2012

Food Friday: Jello Punch Cake

It's Friday again! I was noticing last week that I really hadn't shared any desserts. Total shock, since I have a raging sweet tooth while pregnant and thought for sure that would transfer onto here. Well, we're going to remedy that today with one of my biggest temptations. Cake! My husband teases me sometimes because I'll be more inclined to go somewhere I'm not too happy about if there will be cake involved. Sad I know..

I've always thought this particular type of cake was extremely popular, but every time I make it for someone else they're totally amazed. This is a super simple recipe, and one I learned directly from my mom.


Jello Punch Cake
1 white cake mix + ingredients listed on the back
1 small box of jell-o (I forgot to check what size!)
1/2 cup boiling or hot water*
1/2 cup cold water*
1 container cool whip

1. Bake the cake in a 9x13 pan as directed on the box. Remove from the oven and let cool.
2. In a bowl, combine the jello with the hot water and stir until incorporated as much as possible.
3. Stir in the cold water.
4. Using the stick end of a wooden spoon, punch several holes across the cake. (Don't massacre the whole thing, but you want a good amount of holes too.)
5. Slowly pour the jello mixture over the top of the cake making sure to pour it in the holes you created.
6. Top with cool whip and spread evenly.
7. Refrigerate until well chilled.
8. Enjoy!

Store any leftovers in the fridge.
*These measurements may not be exact. Check your jello box and only use half of the recommended amount of water. Mine called for 1 cup of hot and 1 cup of cold, so 1/2 of each. You can also use a larger box of jello using the same technique.

Happy Friday everyone!

Linking to:
Photobucket

Wednesday, February 22, 2012

St. Patrick's Day Shamrock Art

Before we get into the shamrock art, I'm super stoked to announce that I made it into the Creative Blogger's Got Talent top 20 over at Every Creative Endeavor! Which means I've been brainstorming a new project for Round 2 all week, and I'm beyond excited. The voting begins next Tuesday, so I hope you'll hop on over there sometime this week and vote for your favorite project! :)

Now back to St. Paddy's Day, which just so happens to be one of my favorite holidays. I love getting to get dressed up in green just for it! My brother always tried to pass of his green eyes as enough to avoid getting pinched. I don't really think that counts, but I can't remember ever pinching him for it anyway. So in celebration of St. Patrick's Day, I put together this fun project for you all:


Materials Needed:
Green scrapbook paper of choice
Frame of choice
Shamrock clipart*
Craft string or twine
Hot glue gun
Any desired additional embellishments

*Google "shamrock clipart" under Images and pick out a shape you like to create a stencil. Print it one photo size smaller than your frame. I.e., my frame is 5"x7" and my clipart was printed as a 4"x6".

Step 1: Cut your scrapbook paper to fit in your frame. Carefully cut out your shamrock shape out of the center of your paper. (see below)

Step 2: Center the shamrock on your scrapbook paper and trace it so you have an outline to follow.
Step 3: Starting at one corner of the shamrock stem, begin gluing your string around the outline you just drew in small sections. (Glue the end tail on the inside of the shamrock to hide it; see below.)

Step 4: Continue to follow the outline of the shamrock, gluing the string in small sections. When you reach your starting point, glue over the top of your end tail, and begin a new row along the inside of the first row.
Row 1 complete

Row 2 complete

Step 5: Continue to glue new rows until you're satisfied with the end result. I filled in the entire shamrock, but just a few rows would look great too.

Tip: If your stem is narrower where it meets the leaves like mine, you will not be able to continue around and fill in the entire stem. At the end of the 3rd row I did a squiggle at the end of my stem to fill it in before coming back up to continue around the leaves.

Step 5: If you'd like to add any embellishments to the shamrock itself do so now. (Maybe a green bow or ribbon.) Place your finished shamrock in your frame and admire it! I thought my frame looked a little plain so I added a green flower and some green feathers. And now you're done! :)

I can't believe February is almost over. That means little man will be here soon! Yay! 
Have a wonderful week! :)


Linking to:


Photobucket

Monday, February 20, 2012

Happy President's Day!

Happy President's Day! Because it's a holiday and for me a family day, I won't be sharing a full post today. Instead here are some fun facts about U.S. Presidents! Hope you enjoy your day and travel safely if that's what you'll be doing!

* Barack Obama is our 44th president, but there have actually only been 43 presidents. Grover Cleveland was elected for two non-consecutive terms and is counted twice. (22nd and 24th)

*Abraham Lincoln was the tallest president, measuring 6'4". Conversely, James Madison was the shortest at 5'4".

*James Buchanun was the only President never to marry.

*6 presidents did not have children.

*John Tyler was the president with the most children. He was a father to 15.

*Presidents Thomas Jefferson, James Adams, and James Monroe all died on the 4th of July. Calvin Coolidge was born on this day.

*Ulysses S. Grant was given a $20 speeding ticket for riding his horse to fast down a Washington street.

*Jimmy Carter was a peanut farmer.


Sources:
http://www.huffingtonpost.com/2012/02/16/presidents-day-44-facts-you-didnt-know-about-us-presidents_n_1282967.html#s699775&title=Also_On_The
http://www.littleknownfactsshow.com/presidents.html

Photobucket

Friday, February 17, 2012

Food Friday: Strawberry Oatmeal Bars

I'm getting this up kind of late, but it's the first time today I've had time to really sit down and focus on something. Last week my mom made these yummy oatmeal bars and brought some to us when she came to visit. Xave and I thought they were great and each had one or two. My husband discovered them the next day and ate most of the rest of them. He was pretty excited when she gave us a full container of them a few days later.

When we moved back to my in-laws we had a whole shelf of food storage that needed to be relocated, including the little bit of summer canning I got done before I was too exhausted from being pregnant. All my jam ended up at my mom's house and she's been using some of it to make these bars. I'm not really sure how my mom came across this recipe, but I think it's a pretty ingenious way to use your extra jam before it's time to restock the shelves with the new ones. They're extremely delicious, super easy, and an awesome snack for kids. What more could you ask for? Seriously, try this one out. You won't be sorry.

Strawberry Oatmeal Bars
Source: Pioneer Woman, Dee Rummond @ Foodnetwork.com


1 3/4 sticks salted butter, cut into pieces, plus more for greasing pan
1 1/2 cups all purpose flour
1 1/2 cup oats
1 cup packed brown sugar
1 teaspoon baking powder
1/2 teaspoon salt
1 10-12 ounce jar strawberry preserves

Preheat oven to 350 degrees F and butter a 9x13 baking dish.

Mix together the butter, flour, oats, brown sugar, baking powder, and salt. Press half the mixture into the prepared baking dish. Spread with the strawberry preserves. Sprinkle the other half of the mixture on top and pat lightly. Bake until light golden brown, about 30 to 40 minutes. Let cool completely and then cut into squares.


I hope you all enjoy the holiday weekend! I'm looking forward to some relaxation and time with my family. Thanks for stopping by .:)

Photobucket

Wednesday, February 15, 2012

West Elm Origami Throw Pillow Knock-off

Hey everyone! You're getting two posts today cause I think you're extra super special. :)
A few weeks ago my honey and I found ourselves with some time in our local (ha!) metropolitan area. We don't get out of town very often, so we decided to go look through some shops before we had to head back home. One of the stores we stopped in was West Elm, and I LOVED just about everything they had in the store. I especially fell in love with their origami pillows, (shown HERE) and decided to try and make my own when I got home. The original was $34. I made my version for less than $10 using some coupons and a pillow form I already had from some pillows I got at Ross.


So here's the original:


And here's my version!

Pretty close, huh? Pillows are one of my favorite things to make, and this one was no exception. The original was made with wool felt, but I couldn't find it locally, so I went with the best felt I could find. It still turned out great. Please don't confuse "premium felt" with crafting felt though. I don't think that would look quite as nice. Here's how to do it:

West Elm Origami Throw Pillow Knock Off Tutorial


Materials Needed:
*3/4 yd premium felt in choice of color (Mine was 72" wide. Adjust amount for shorter widths)
*Thread in closest color match possible
*Invisible zipper in matching color
*18" pillow form
*Basic sewing supplies (pins, scissors, sewing machine, etc)

Cutting dimensions:
* 2- 19" squares
*49- 2 1/2" squares (That's not a typo. You really need 49 squares exactly)

Step 1: Carefully cut out your fabric pieces keeping them as square as possible. Stack up the little squares and take them to your sewing machine. Get ready to sew.
(Here's all my squares stacked and ready to go!)

Step 2: Take one square and fold it in half to make a triangle with right sides together (see picture). Sew as close to the edge across the tip where the two corners meet (see 2nd picture). Do not clip the string. Continue folding squares in the same manner and "chain" them one after the other. This will save you a lot of time and thread by not cutting in between. 


(How to fold your squares)

(Stitch as close to the edge as you can. You can sort of see the rest of my "chain" forming in the background)

(This is what it should look like when you're done. A whole long strip of puffy triangles.)

Step 3: Clip the threads between each triangle, leaving as little thread showing as possible without clipping fabric or unraveling the stitching. 

Step 4: Carefully turn your "triangles" right side out. Don't worry about trimming the excess fabric off the tips or pressing seams. This is what you should have when you're done:
(These kind of remind me of cannoli shells! In fact, I'm going to refer to these as cannolis for the rest of the tutorial)

(Just for fun, here's what the whole lot of them look like.)

Step 5: Lay one 19" square right side up on a table or work surface. Measure in a half inch from each edge of one of the corners. Mark with a pin.


Step 6: Flatten a cannoli so the center seam is lined up with the end points. Line up one of these points with the pin on the large square and pin in place. (You want to create a diagonal line from corner to corner with cannolis, so keep that in mind while placing.) Continue placing cannolis end to end leaving a small gap between each until you reach the opposite corner.


(Here's what it should look like at this point.)


Step 7: Begin placing cannolis going the other direction at each gap, creating a four way intersection. (see picture) 


Step 8: Continue pinning your cannolis end to end on each new row, just as you did with the first row, until you reach the edge (there should be a gap for the 1/2" seam allowance).
(This is upside down if you look at all my other pictures, so don't let that confuse you. Just make sure you're creating new diagonal rows that cross at the gap of your original row.)

Step 9: Now that all you're rows are finished one way, begin pinning cannolis between the gaps of the rows you just created, horizontal to the first row.

(This is what you should end up with.)

Step 10: Beginning on any row (I started on the original center row), Stitch through the center of all your cannolis making sure to stitch across the point and center seams.

Step 11: Continue to stitch down the center of all the rows. The front of your pillow is now done and should look something like this:
(Pretty, isn't it?)
Step 12: Shorten your zipper to fit along one end of your pillow. Sew on your invisible zipper following the manufacturer's directions or your favorite tutorial, except adjust the seam allowance to 1/2". (This was my first invisible zipper and was really intimidating but ended up not being too hard!) Trim some of the excess fabric for a cleaner look.


(Here's my zipper after it was sewn in and before I'd trimmed my edges.)

Step 13: Continue sewing around the edges of the pillow (right sides together) with a 1/2" seam allowance. Clip your corners, turn, push out the corners, and then stuff that puppy! You're all done! :)


Be sure to let me know if you make this and link up a picture of the project so I can see how yours turned out too! I'm really curious how this would look in other colors. :)

Linking to:

Skip to my Lou ♡ Polly Want a Crafter ♡ Lines Across My Face ♡ Sarahndipities ♡ Sumo's Sweet Stuff ♡ Sew Can Do ♡ Vintage Wanna Bee ♡ Mommy By Day, Crafter By Night ♡ Today's Creative Blog ♡ Not Just a Housewife ♡ Coastal Charm ♡ Chef In Training ♡ Oopsey Daisy ♡ It's Overflowing ♡ My Girlish Whims ♡  Blue Cricket Design ♡ Someday Crafts ♡ Lil' Luna ♡ Southern Lovely ♡ 733 ♡ Sew Much Ado ♡ The Sasse Life ♡ The Trendy Treehouse ♡ Junk in Their Trunk ♡ Polka Dots on Parade ♡ Bear Rabbit Bear ♡ The Shabby Nest ♡ Fingerprints on The Fridge ♡ Family Ever After ♡ Tatertots and Jello ♡ Destination: Craft ♡ Vintage Mauve  ♡ The DIY Dreamer Every Creative Endeavor Threading My Way See Vanessa Craft ♡ Naptime Crafters

(I did something goofy and accidentally deleted my entire linky list for this project. {Just about had a heart attack!} I've repopulated it as best I can, but if you're missing from the list, please let me know so I can add you back. Thanks!)


Photobucket

Romantic Dinner (Valentine's Day Recap)

What an awesome Valentine's Day! My honey surprised me with lunch at a cute little cafe that had amazing sandwiches, and then gave me a gorgeous pair of earrings to top it off. That alone would have been an awesome day, but we had already planned on a dinner date-in. I wanted to have a restaurant meal, without going to the actual restaurant. There were rave reviews at the end of the night, and I think it's safe to call it a success.

All in all, it was way more work than I had anticipated. I made dinner for our family and my husband's family (a total of 6 people), and I don't think I would be this tired today if I'd kept it to just the two of us (or maybe stopped slaving away in the kitchen super pregnant!). But really, it was fun to share with everyone and they all seemed to enjoy it, so it was worth the extra work. Luckily, I was smart and did a bunch of prep the day before which made my life a lot easier. So here's what I did. (Check the bottom for recipe links!)


Day Before Prep:
These steps will help make your life so much easier the day of if you decide to recreate this menu or something similar. Any prep you can do the day before is always helpful. These 3 things didn't take me much time but saved me a lot of time and hassle in the kitchen when it was time to cook.

→ Cooked rice and popped it in the fridge (Italian Rice Balls)
→ Mixed together bread starter for it's overnight rest (Ciabatta)
→ Baked cupcakes (Cherry Coke Float Cupcakes)

Day of:
TIPS: Finish making the Items you've prepped first (the rice balls have to chill, so put them together about an hour in advance so they're ready to go when you are.)  I cooked the rice balls first while I was putting together the rest of dinner. Pull them out a little early and then finish them off under the broiler right before you're ready to serve. I baked the chicken and asparagus at the same time at the higher temp (450 degrees). Pull out the asparagus at about 10 minutes instead of 15 and then top with cheese. I also crumbled 2 cupcakes and layered the toppings between layers of cake in a mug for the two of us.


Menu
Appetizers:
Italian Rice Balls with Marinara
Rustic Italian Ciabatta served with olive oil and balsamic vinegar for dipping


Main Course:
Chicken Parmesan served over Spaghetti
Roasted Asparagus with Parmesan
Caesar Salad (From a kit! Yes, I cheated.)


Dessert:
Cherry Coke Cupcakes


Mmmm... My mouth is watering just thinking about it again. And now I'm going to make yours water too with some yummy pictures. Sorry, not the best lighting in the kitchen after dark!


Italian Rice Balls


Rustic Italian Ciabatta


Chicken Parmesan


Roasted Asparagus with Parmesan


Cherry Coke Float Cupcakes


This really made for an amazing and memorable dinner that my husband was super stoked to eat with me. I think everyone ended up eating way too much!

Xave was sad he didn't get to join in on our date, so after dinner we took him out on a special date too. He was such a sweetie throughout the day though, and even decorated special sugar cookies for me and my hubby with Grandma.

Isn't it sweet? Made my heart melt a little bit when he came in and gave it to me while I was cooking. :) I hope you all had a wonderful Valentine's Day! If you ever need an awesome romantic dinner, this one is definitely a winner! Let me know if you do make it and what everyone thought. I'm telling ya, it's sure to impress. ;)


Recipe Links:
Italian Rice Balls courtesy of Brown Eyed Baker
Rustic Italian Ciabatta courtesy of King Arthur Flour
Chicken Parmesan courtesy of Tyler Florence @ Food Network
Roasted Asparagus with Parmesan courtesy of Ina Garten @ Food Network
Cherry Coke Float Cupcakes courtesy of Brown Eyed Baker


Photobucket

Tuesday, February 14, 2012

Happy Valentine's Day!!

Hey everyone! Just wanted to wish you all a Happy Valentine's Day! Or Single Awareness Day if you prefer. ;) Last year my sweet husband surprised me with a ring and sweet proposal after very thoroughly convincing me that it would be a while before he'd be able to afford one. Sneaky sneaky! Our 1 year anniversary is coming up in about a month, and the memories of this day last year are reminding me of the wonderful time I've had so far being married to the man of my dreams. What a lucky girl I am! I hope you all have a wonderful day and enjoy spreading the warmth and love of this day with your family and friends. And now I'm going to get back to mine, but I'll be back tomorrow to share some of the fun we had. :)

Have a great day!!

Photobucket

Monday, February 13, 2012

Baby on the Brain.. And the Bladder

Well, I know I promised to share some table decorating ideas today, but I found out yesterday that everything was in some of the most inconvenient spots in our storage shed. (We recently moved back to my in-laws for a while.) I was quite sad, but maybe on a day when we have some extra time, I can dig everything out and share some fun stuff with you all.

Now switching gears, I hit the 32 week mark today! WOOHOO!! Hopefully that means we'll be meeting our 2nd little boy in around 8 weeks. (He may have other plans, but I'm hoping not!) Can you tell I'm getting excited? The reality that there's a little less than 2 months left until my due date has me thinking about all the projects I want to get done before he gets here. So here's a collection of some of my favorite tutorials and goodies for moms and babies. I've included a tutorial and place to buy for most of these, so whether you're crafty or not, you can still get in on the fun!


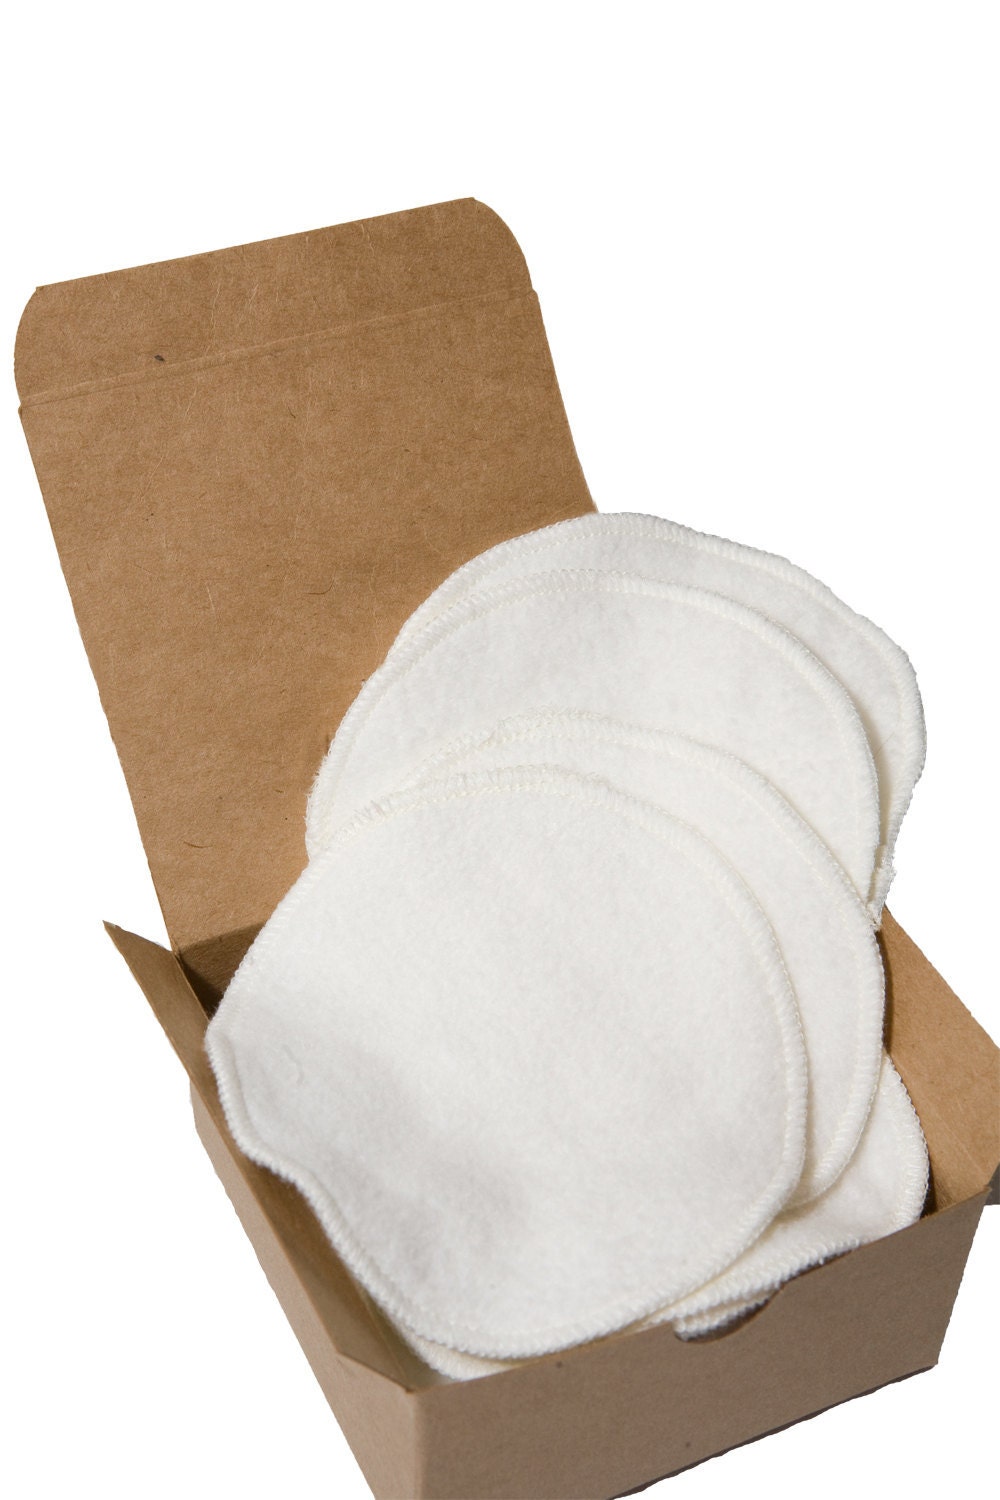
Reusable Nursing Pads

Great tutorial to make your own from DIY Maternity. I might try making these with layers of bamboo velour (yummy!), hemp fleece, and some PUL for extra protection.


Or you can buy these luxurious looking bamboo fleece "Hooter Soothers" from Sweet Bobbins on Etsy. There's also several other types available for sale, these just seem extra special. :)


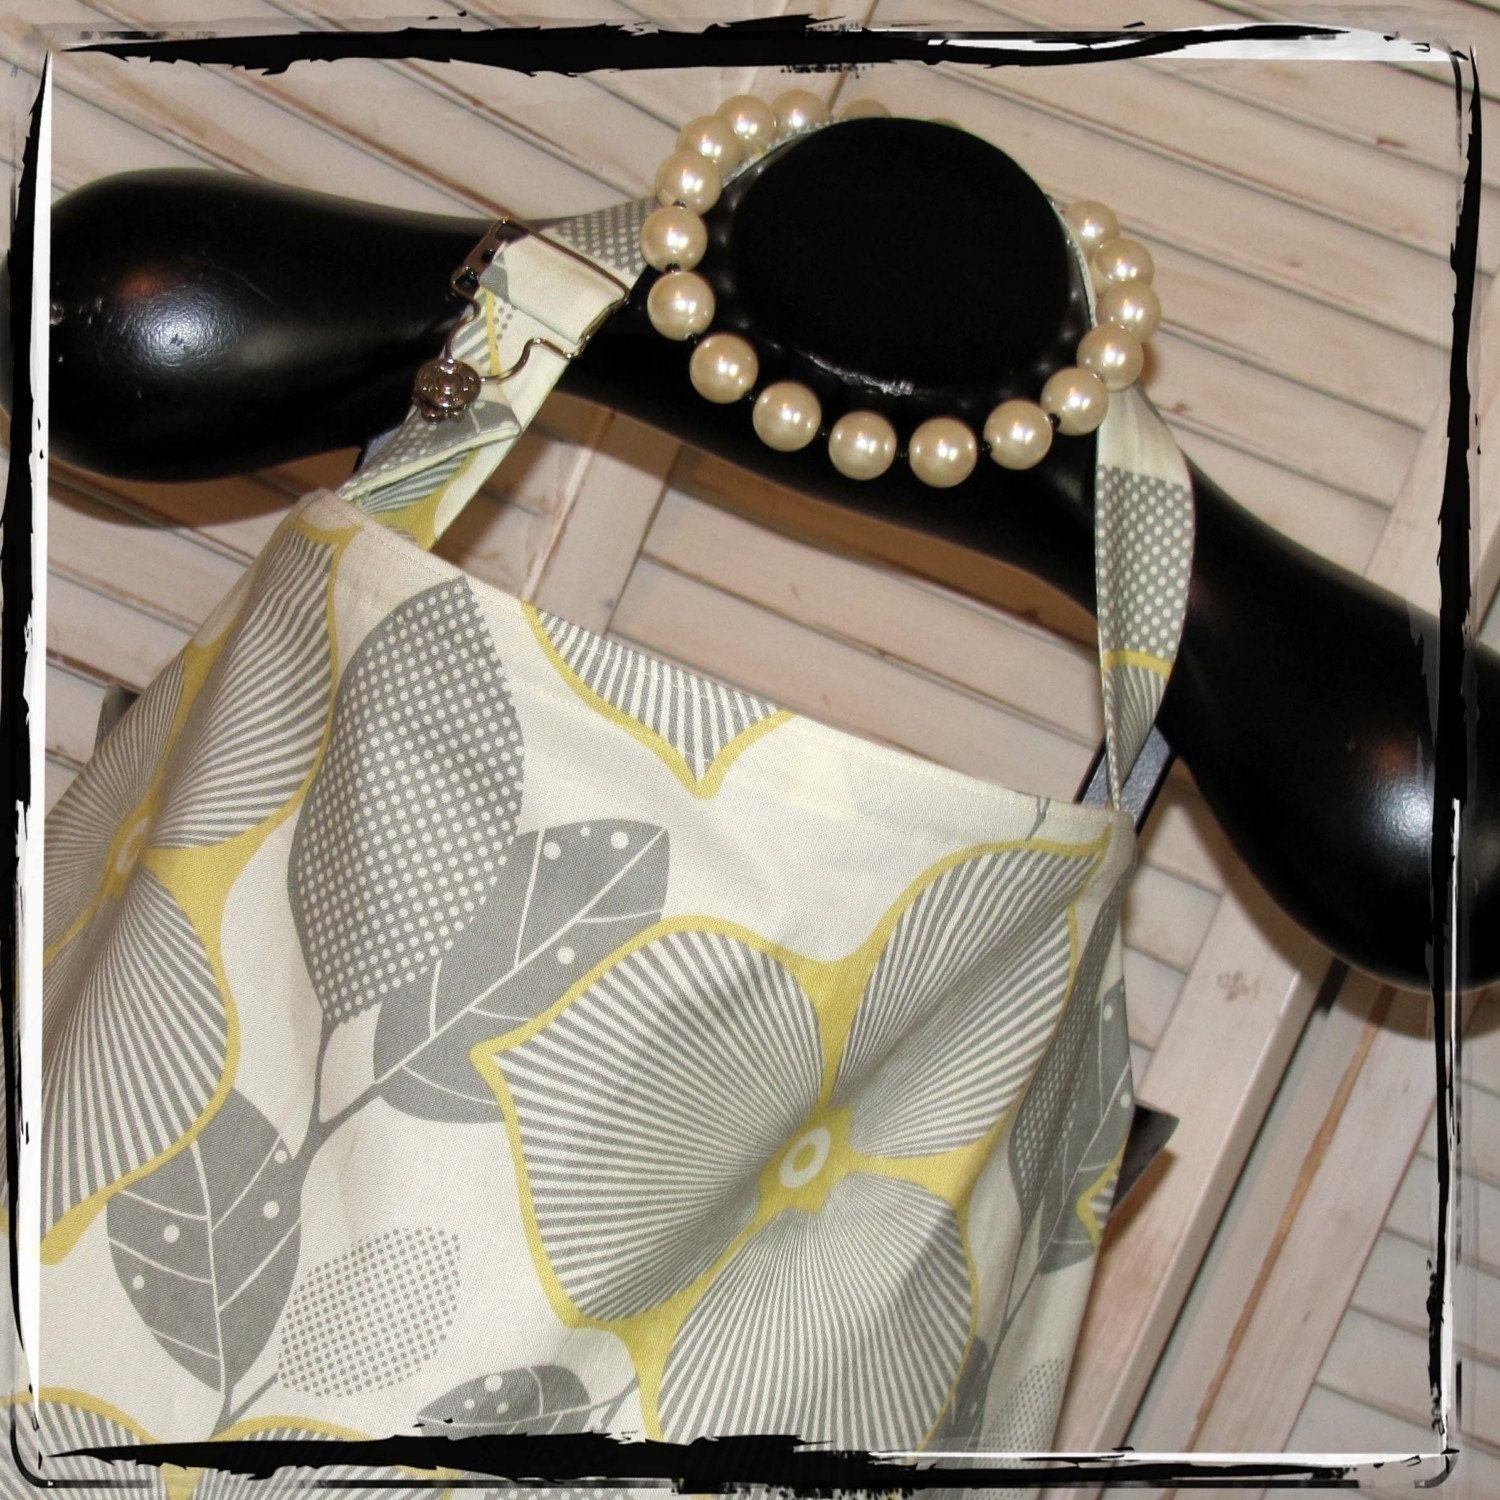
Nursing Covers a.k.a. Hooter Hiders (teehee!)


I'd love to have one of these instead of a receiving blanket. Blankets always seem to get ripped off at the worst time possible, but these have a strap that keeps them in place. Awesome! Sew Much Ado has an awesome tutorial for these covers, and I'll definitely have to make myself at least one. I LOVE the fabric she used too! Don't you?


I love this one from Lilacs & Lollipops too. Amy Butler fabrics are some of my faves, and she also offers several matching baby items.
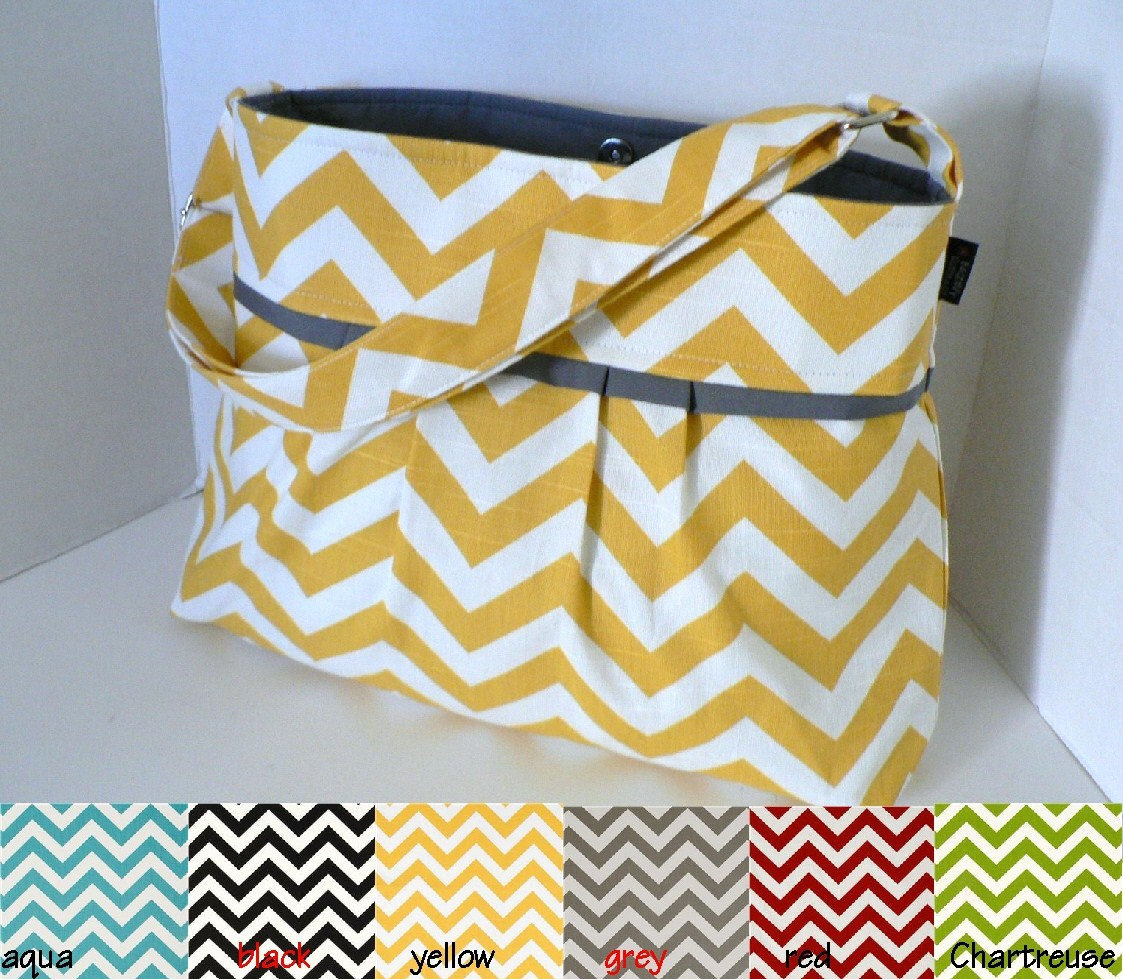


Diaper Bags


This is actually a messenger bag tutorial from Mommy By Day, Crafter By Night, but I think it'd make a super cute diaper bag too. I didn't see directions for any pockets other than under the front flap, but adding a few to the inside would help to keep it organized. I've never been a fan of the elastic pockets, but I don't think they'd be hard to add either if you'd prefer them.


Bag Envy offers this bag in a variety of colors and patterns. This particular listing allows you to choose what color chevron you'd like. I'm in love with the blue and the green! ;)


Baby Blankets

I already made a crib blanket and several receiving blankets, but here are some of the other blankets I'd like to make, and blankets I'm just plain in love with. :)


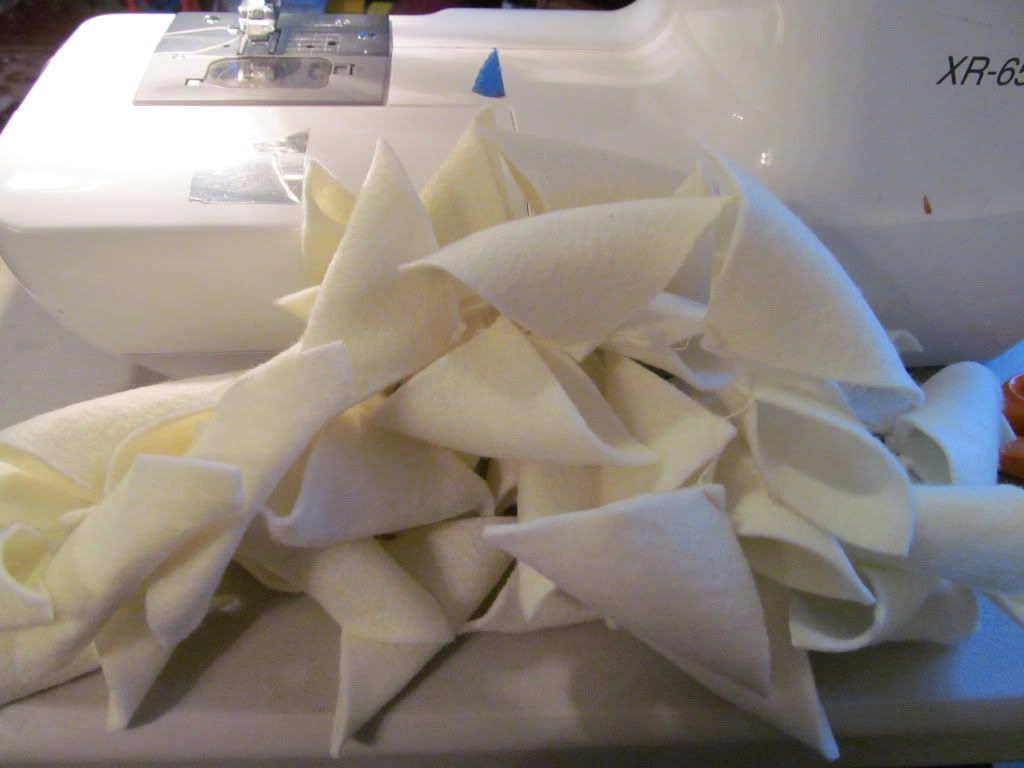
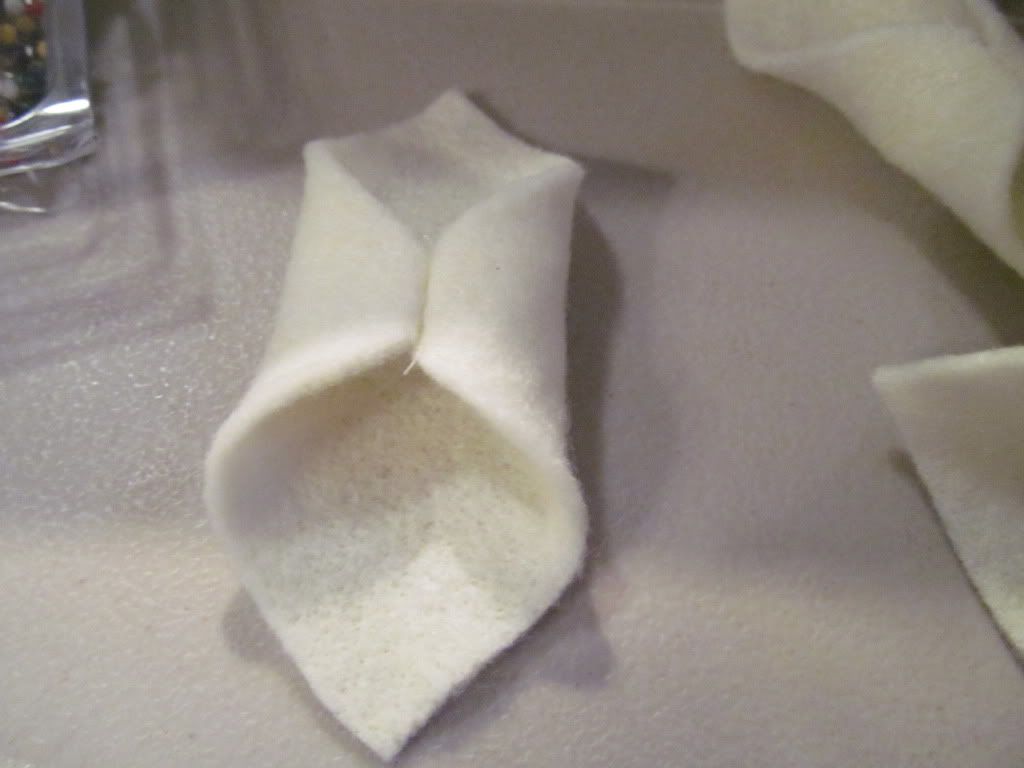
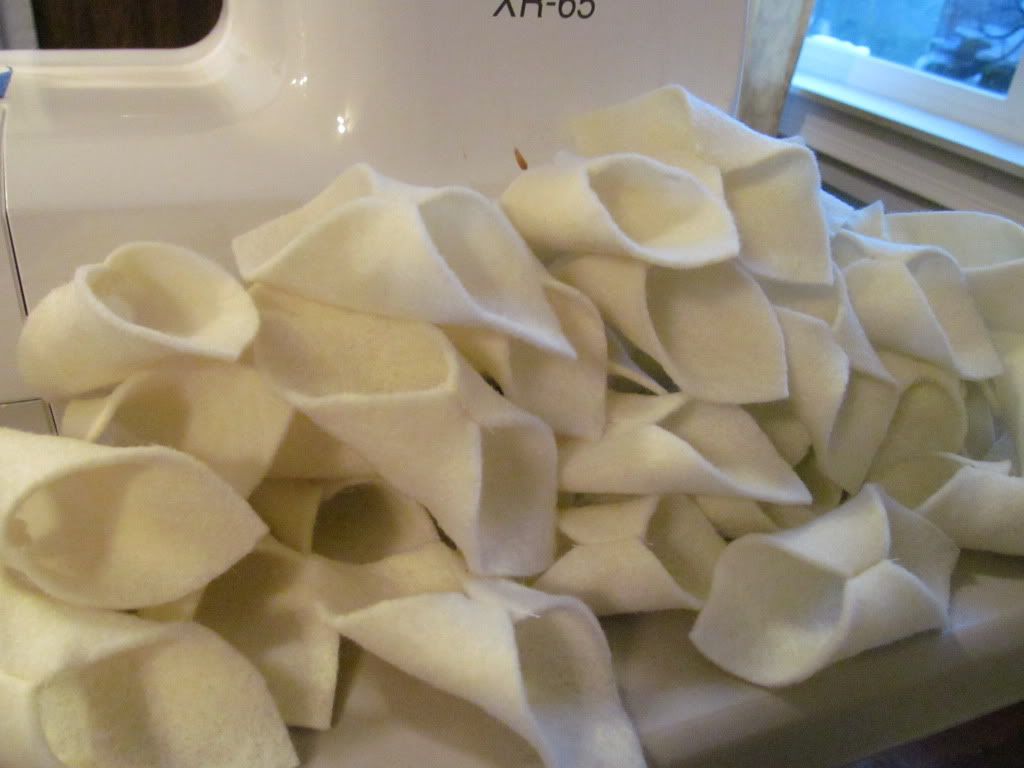
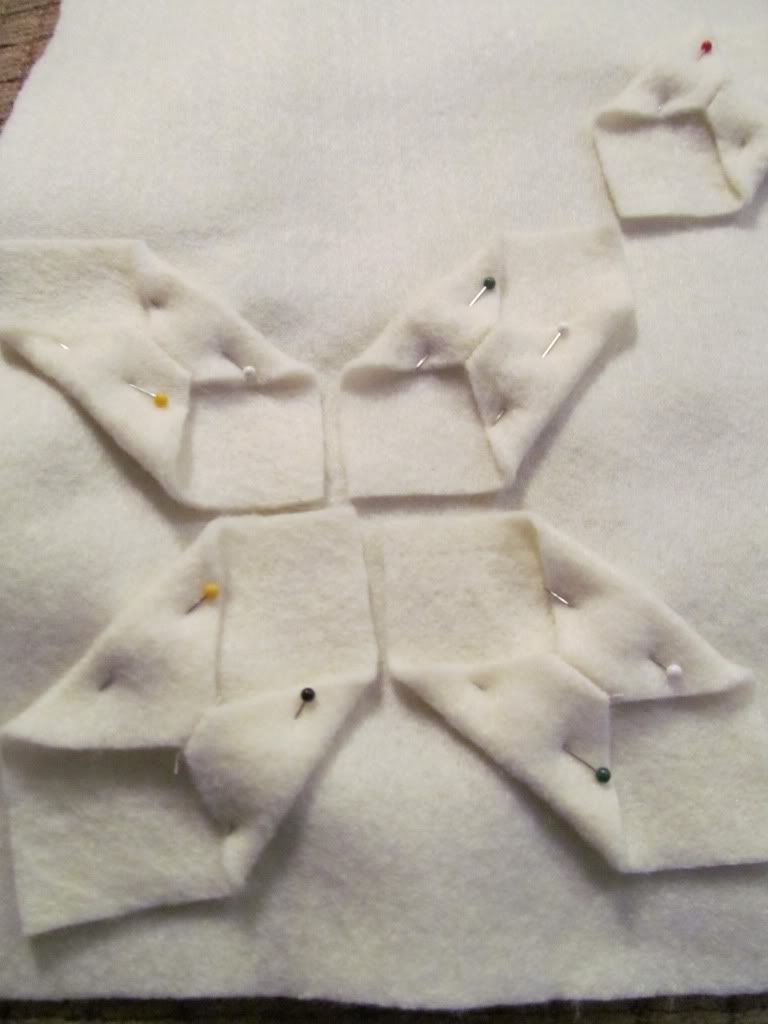
Faux chenille blankets are something I just recently discovered. They definitely seem to take some time to make, but what fun! The "chenille" side looks so soft and fluffy, and the thickness of the blanket helps make it super versitale. Dana at MADE shared this tutorial, and it's one I'm hoping to try for both boys sometime in the near future.


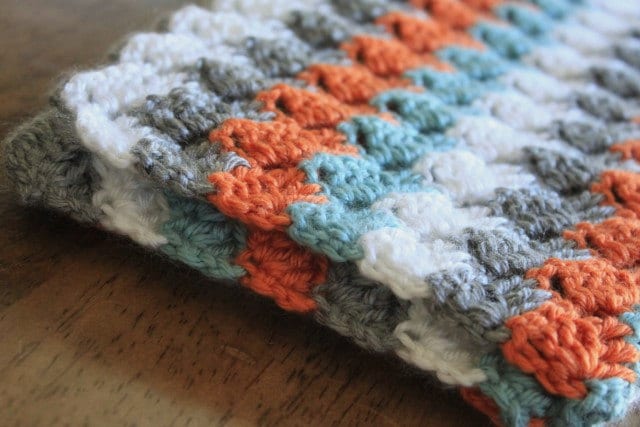
I wish I knew how to crochet.. I'm in love with this blanket from Ribbons Undone.


Chevron seems to be all the rage these days. Here's another version of the chenille quilt from Aesthetic Nest with the chevron design on the chenille side as well. Anneliese, you rock!


Who loves minky? I do! I also love the Alexander Henry Zoo fabrics. This great tute is from Mama Stellato. I love the idea of using newspaper as the cutting guide. I'll definitely have to try that!


I have yet to try machine quilting, but it's something I want to learn. Making this super cute blanket might just push me to finally try it. Diary of a Quilter shared this tutorial at Moda Bakeshop. I love the Lily and Will collection by Moda too. :)


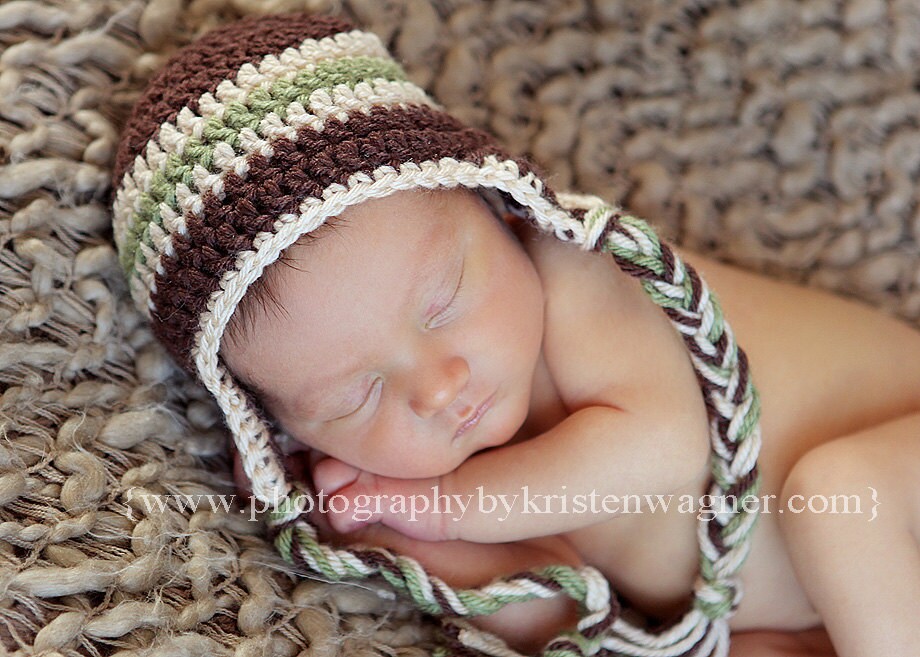
Baby Hats and Photo Props


Once again wish I could crochet well enough to make something this cute! Snazziebeans also offers other super cute hats and photo props.


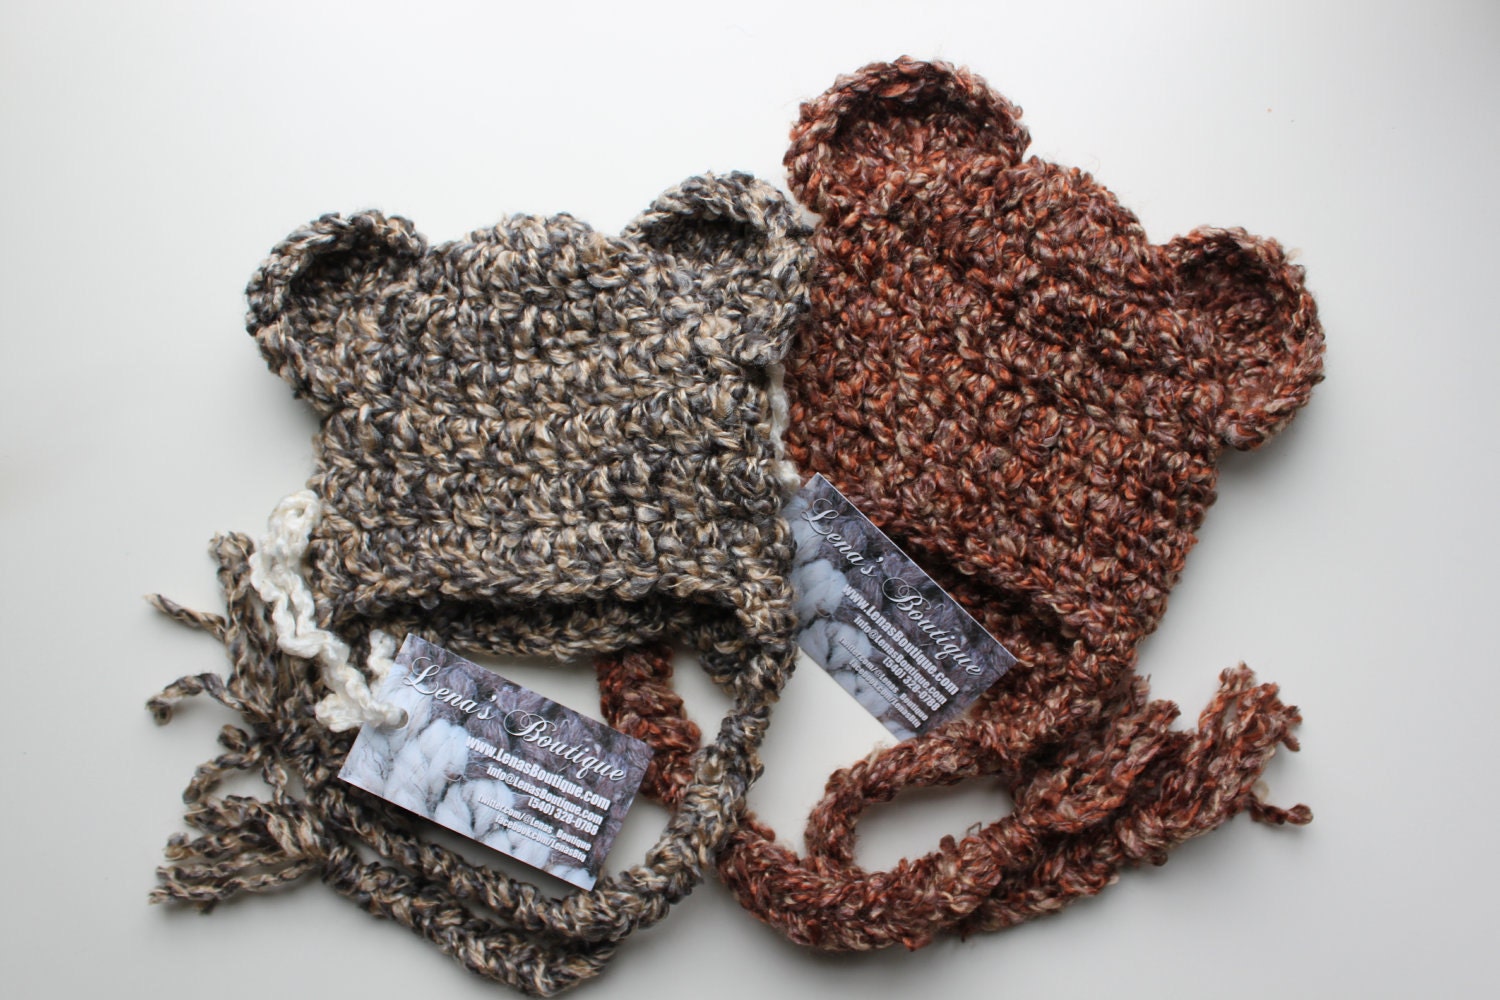
Love love love these bear ear hats from Lena's Boutique.


How adorable is this picture? I love the owl hat with the nest. Birds of a Feather Photo Props has a few different kinds of these and other great photo props. Wouldn't these make the sweetest newborn pictures? I don't know what I'd do with the nest afterward, so I'm not sure if I'll buy one for myself or not, but I might just have to give in cause it's so darn cute!

I can't wait to get started on some of these projects. What are some of your favorite things to make buy when a new babe is comin' around? I'd love to see what other ideas you have too. :)

Photobucket